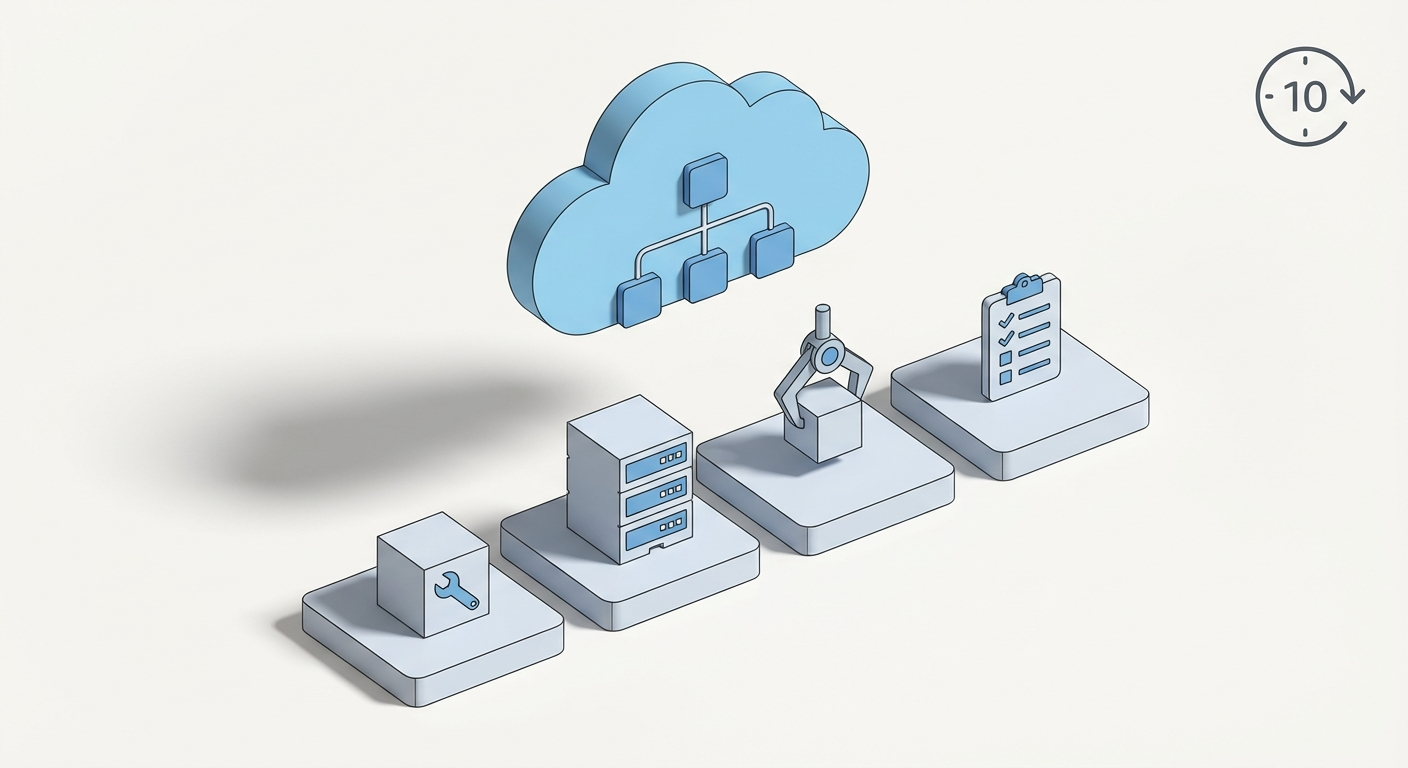
How to Set Up OpenClaw in 10 Minutes (No Mac Mini Needed)
You don't need a dedicated computer to run an AI agent. A $24/month DigitalOcean server, 10 minutes of setup, and you have got an always-on assistant in your pocket.
- openclaw
- digitalocean
- tutorial
- getting-started
- cloud-deployment
You don't need a dedicated computer sitting in your closet to run an AI agent. A $24/month cloud server works just as well — and in some ways, it's better.
Here's how to get OpenClaw running on DigitalOcean from scratch. The whole thing takes about 10 minutes.
Why a Cloud Server?
Running OpenClaw on your personal laptop has a problem: when you close it, your agent goes to sleep. A cloud server runs 24/7, which means your agent is always available — responding to messages, running scheduled tasks, checking on things while you're asleep.
DigitalOcean's 1-Click deployment also handles security hardening automatically: firewall rules, non-root execution, Docker sandboxing, and authenticated access. You'd have to set all of that up yourself on a local machine.
What You'll Need
- A DigitalOcean account (sign up here — they have a free trial)
- An Anthropic API key (or OpenAI, or any LLM provider you prefer)
- A messaging app you want to connect — Telegram is the easiest to start with
That's it. No Docker experience needed. No server admin background required.
Step 1: Create Your Droplet (2 minutes)
Log into DigitalOcean and create a new Droplet.
That link pre-selects the OpenClaw 1-Click image, so you don't have to hunt for it.
Pick these settings:
- Region: Wherever is closest to you
- Size: 4GB RAM / 2 CPU ($24/mo) — this is plenty for personal use
- Authentication: SSH key (recommended) or password
Click Create Droplet and wait about 60 seconds for it to spin up.
Step 2: SSH In and Configure (3 minutes)
Once your Droplet is ready, grab the IP address from your dashboard and connect:
ssh root@YOUR_DROPLET_IP
The 1-Click image comes with OpenClaw pre-installed. Run the onboarding wizard:
openclaw onboard --install-daemon
This walks you through:
- Setting your LLM API key (paste your Anthropic key here)
- Choosing a gateway password (this secures your instance)
- Installing the background service so OpenClaw starts automatically
Step 3: Connect a Messaging Channel (3 minutes)
The fastest way to start chatting with your agent is Telegram:
- Open Telegram and talk to @BotFather
- Send
/newbot, give it a name, and copy the token - Back in your SSH session, add the Telegram channel to your config:
openclaw config edit
Add your Telegram bot token under channels.telegram.token, set your Telegram user ID in channels.telegram.allowFrom, and restart:
openclaw gateway restart
Send a message to your bot. It responds. You now have a personal AI agent running in the cloud.
Step 4: Access the Web Dashboard (2 minutes)
OpenClaw has a built-in web UI for monitoring sessions, viewing logs, and managing configuration. To access it securely:
ssh -L 18789:127.0.0.1:18789 root@YOUR_DROPLET_IP
Then open http://127.0.0.1:18789 in your browser. The dashboard shows active sessions, message history, and lets you tweak settings without touching config files.
What Can You Do With It?
Once OpenClaw is running, your agent can:
- Answer questions from any connected messaging app
- Run scheduled tasks — daily briefings, reminders, automated checks
- Browse the web and summarize content
- Execute code in a sandboxed environment
- Install skills from ClawHub to extend capabilities — weather, email, GitHub, calendar, and dozens more
The real power comes from skills. Think of them as plugins that give your agent new abilities. Want it to manage your GitHub issues? There's a skill for that. Want it to check the weather every morning and message you? Skill + cron job, done in 2 minutes.
And if you want to go further, Claw Mart has premium AI personas and skill packs built by the community — everything from specialized research agents to creative writing assistants.
Troubleshooting
If something's off, OpenClaw has a built-in diagnostic tool:
openclaw doctor
This checks your configuration, API connectivity, channel setup, and flags anything that looks wrong. It's the first thing to run if your agent isn't responding.
The Bottom Line
You don't need expensive hardware or a computer science degree to run your own AI agent. A $24/month server, 10 minutes of setup, and you've got an always-on assistant that lives in your pocket through whatever messaging app you already use.
The gap between "I wish I had an AI that could do X" and actually having one has never been smaller. Go set it up.
Recommended for this post

Felix
Entrepreneur
Your AI CEO — ships products, manages code, handles comms, remembers everything, runs your business

Teagan
Persona
Content marketing AI with multi-agent writing pipeline — Grok research, Opus drafting, brand voice system

Coding Agent Loops
Skill
Run persistent, self-healing AI coding sessions with tmux, Ralph loops, and completion hooks

Persistent, structured memory that actually scales — knowledge graph, daily notes, and tacit knowledge