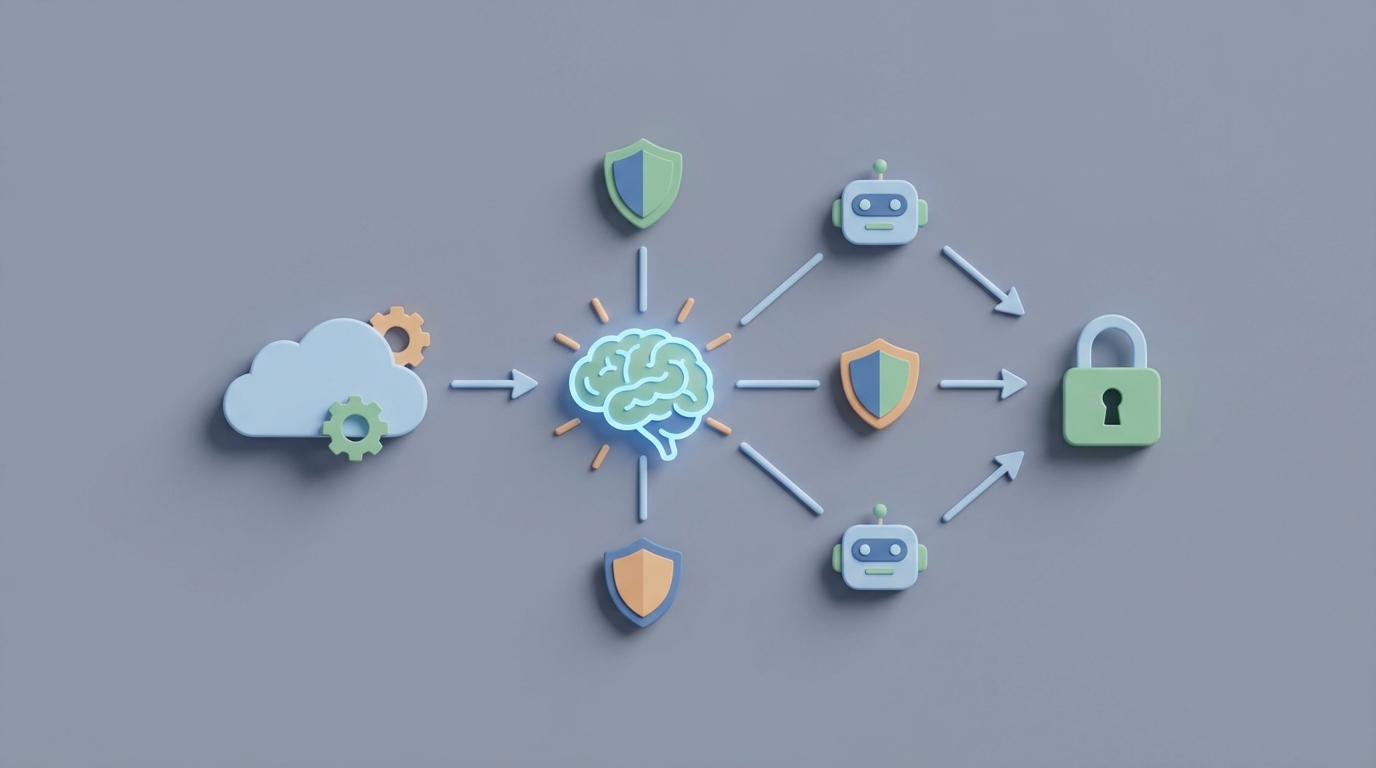
How to Automate Security Scanning with AI
How to Automate Security Scanning with AI
Most security teams I've talked to describe their workflow the same way: scanners find thousands of things, humans spend weeks figuring out which ones matter, developers get annoyed, and by the time a critical vulnerability gets patched, it's been sitting in production for a month.
The detection part is automated. The thinking part isn't. And the thinking part is where all the time and money goes.
This post is a practical guide to closing that gap. We're going to walk through exactly how to build an AI agent on OpenClaw that handles the triage, prioritization, and routing of security findings — the stuff that eats 40-60% of your security team's week right now. Not a theoretical exercise. Actual steps, actual architecture, actual expected outcomes.
Let's get into it.
The Manual Workflow Today (And Why It's Broken)
Here's what a typical security scanning workflow looks like in a company running DevSecOps properly:
Step 1: Scanning (Automated, ~0 human hours) A developer opens a pull request. Your CI/CD pipeline kicks off SAST scanning (CodeQL, Semgrep, Checkmarx), SCA scanning (Snyk, Dependabot, Grype), and maybe container image scanning (Trivy, Anchore). If you're running cloud infrastructure, CSPM tools like Wiz or Prisma Cloud are doing continuous posture checks.
This part works fine. Machines are good at pattern matching.
Step 2: Triage (Manual, 15-25 hours/week per security engineer) Now someone has to look at every finding and decide: is this real or a false positive? Traditional SAST tools still produce 35-60% false positives. Some legacy tools hit 70%+. That means for every 100 findings, your security engineer is throwing out 35-70 of them after manually reviewing each one.
For an average enterprise seeing thousands of findings per month, this is brutal.
Step 3: Risk Assessment and Prioritization (Manual, 8-15 hours/week) For the findings that survive triage, someone needs to answer: does this actually matter in our specific environment? A critical CVE in a library that's only used in an internal tool with no internet exposure is very different from that same CVE in your payment processing service.
This requires understanding the application architecture, data flow, network exposure, and business context. It's judgment-heavy work.
Step 4: Routing and Communication (Manual, 3-5 hours/week) Once prioritized, findings need to get to the right developer, in the right format, with the right context. This usually means creating Jira tickets, tagging people in Slack, writing up explanations of what the vulnerability is and why it matters. Security engineers become project managers.
Step 5: Fix Validation (Manual, 5-10 hours/week) After a developer submits a fix, someone needs to verify it actually resolves the issue without introducing new problems. Re-scan, review, confirm.
Step 6: Documentation and Compliance (Manual, 3-8 hours/week) For SOC 2, ISO 27001, PCI, or whatever compliance framework you're working under, every finding needs documentation. Risk acceptance decisions need to be recorded. Audit trails need to exist. This is tedious, repetitive, and absolutely necessary.
Total: A single security engineer spends roughly 35-60 hours per week on post-detection work. That's not a typo. That's why the median time to fix critical vulnerabilities is 19 days for open source and 32 days for proprietary code. It's not that people are lazy. It's that the workflow is overwhelmed.
What Makes This Painful (Beyond Just Time)
The time cost is obvious. Here's what's less obvious:
Alert fatigue kills your security culture. When developers get 50 notifications a week and 40 of them are noise, they start ignoring all of them. The Snyk State of Developer Security report found that developers spend an average of 3.8 hours per week on security tasks — and most of that time feels wasted. Only 8-15% of flagged findings are typically exploitable in their specific environment.
Context switching destroys productivity. 67% of organizations use four or more different security tools (Forrester 2026). Your security team is jumping between Snyk, Wiz, Jira, Slack, your CSPM dashboard, your SAST console, and a spreadsheet someone made three years ago to track risk acceptances.
The security team becomes a bottleneck. Every finding that needs triage sits in a queue. Every risk decision waits for a human who's already underwater. Developers waiting on security reviews slow down the entire release cycle.
Documentation debt compounds. When you're drowning in triage, compliance documentation is the first thing that gets deprioritized. Then audit season arrives and everyone panics.
The cost is real. A senior security engineer costs $150,000-$200,000+ per year. If 60% of their time is spent on work that could be automated, you're burning $90,000-$120,000 per engineer per year on manual triage and routing.
What AI Can Handle Now
Let's be clear about what's realistic and what's hype.
AI is genuinely good at these tasks today:
-
False positive reduction: Modern ML models trained on historical triage data can eliminate 50-70% of false positives automatically. They learn what your team consistently marks as "not applicable" and start doing it themselves.
-
Reachability analysis: Determining whether a vulnerable function is actually callable in your codebase. "Yes, this library has a critical CVE, but the vulnerable method is never invoked in your application." This is pattern matching at scale — exactly what AI excels at.
-
Risk prioritization: Combining EPSS scores (Exploit Prediction Scoring System), the KEV catalog (Known Exploited Vulnerabilities), your specific infrastructure topology, and historical data to rank findings by actual risk rather than generic CVSS scores.
-
Fix suggestion: Generating patches for common vulnerability patterns. Accuracy varies (40-75% depending on language and complexity), but even imperfect suggestions dramatically speed up developer response.
-
Documentation generation: Creating compliance-ready write-ups of findings, decisions, and remediation steps. This is just structured text generation — a solved problem for modern LLMs.
-
Routing logic: Determining which team or developer owns the affected code and creating properly contextualized tickets.
AI is NOT good at these tasks (yet):
- Business risk decisions (should we accept this risk given our specific customer contracts?)
- Architectural security flaws (insecure design patterns that no scanner catches)
- Zero-day analysis for genuinely novel attack techniques
- Final sign-off on fixes in regulated or mission-critical systems
- Threat modeling that requires understanding attacker motivation
The goal isn't full automation. The goal is compressing the 35-60 hours of manual work down to the 5-10 hours that actually require human judgment.
How to Build This with OpenClaw: Step by Step
Here's the architecture for an AI-powered security triage agent built on OpenClaw. This agent sits between your scanning tools and your ticketing/communication systems.
Step 1: Set Up Your Data Ingestion Pipeline
Your agent needs to consume findings from all your scanning tools. OpenClaw's agent framework lets you define input connectors that normalize data from different sources into a common schema.
# OpenClaw agent config - data sources
agent:
  name: security-triage-agent
  description: "Automated security finding triage, prioritization, and routing"

  inputs:
    - source: github_advanced_security
      type: webhook
      events: [code_scanning_alert, dependabot_alert, secret_scanning_alert]

    - source: snyk
      type: api_poll
      frequency: 15m
      endpoint: /v1/org/{org_id}/issues

    - source: trivy
      type: ci_artifact
      format: sarif
      pipeline: main-build

    - source: wiz
      type: webhook
      events: [new_issue, issue_updated]

  schema:
    normalize_to: unified_finding
    fields: [severity, cve_id, affected_component, file_path, line_number, description, scanner_source, confidence, first_seen]
This gives your agent a single stream of normalized findings regardless of which scanner produced them. No more jumping between six dashboards.
Step 2: Build the Triage Layer
This is where the bulk of the value lives. Your OpenClaw agent applies multiple filters to each finding before it ever reaches a human.
  triage:
    # Layer 1: Duplicate and noise elimination
    deduplication:
      match_on: [cve_id, affected_component, file_path]
      action: merge_and_deduplicate

    # Layer 2: Historical false positive detection
    false_positive_filter:
      model: trained_on_historical_triage
      confidence_threshold: 0.85
      action_above_threshold: auto_dismiss_with_log
      action_below_threshold: flag_for_review

    # Layer 3: Reachability analysis
    reachability:
      analyze_call_graph: true
      check_user_input_paths: true
      action_if_unreachable: downgrade_severity_and_log

    # Layer 4: Environment context
    context_enrichment:
      check_internet_exposure: true
      check_data_sensitivity: true  # maps to your data classification
      check_epss_score: true
      check_kev_catalog: true
The key here is the false_positive_filter using your historical triage data. Every time your security team dismisses a finding, that decision becomes training data. After a few weeks, the agent starts catching the same patterns automatically.
On OpenClaw, you can configure this model training to happen continuously in the background. The agent gets smarter as your team works.
Step 3: Implement Smart Prioritization
Instead of relying on raw CVSS scores (which are generic and context-free), your agent calculates a composite risk score specific to your environment.
  prioritization:
    risk_score_calculation:
      weights:
        epss_probability: 0.25
        kev_listed: 0.20
        internet_exposed: 0.20
        data_sensitivity: 0.15
        reachability_confirmed: 0.10
        scanner_confidence: 0.10

    categories:
      critical:
        threshold: 0.8
        sla: 24h
        routing: immediate_page
      high:
        threshold: 0.6
        sla: 7d
        routing: sprint_backlog
      medium:
        threshold: 0.3
        sla: 30d
        routing: backlog
      low:
        threshold: 0.0
        sla: 90d
        routing: informational
This is where the real magic happens. A CVE with a CVSS of 9.8 that isn't reachable, isn't internet-exposed, and has no known exploit in the wild gets downgraded to medium or low. A CVE with a CVSS of 7.5 that's reachable, internet-exposed, and listed in the KEV catalog gets bumped to critical.
Your security team stops treating all "critical" CVEs equally and starts focusing on what's actually dangerous.
Step 4: Automate Routing and Ticket Creation
Once findings are triaged and prioritized, the agent creates properly formatted, context-rich tickets and routes them to the right people.
  routing:
    ticket_creation:
      platform: jira  # or linear, github_issues, etc.
      template: |
        **Security Finding: {cve_id}**
        **Risk Score: {calculated_risk_score} ({risk_category})**
        **SLA: {sla_deadline}**

        **What's affected:** {affected_component} in {file_path}:{line_number}
        **Why it matters:** {ai_generated_impact_summary}
        **Suggested fix:** {ai_generated_fix_suggestion}
        **Reachability:** {reachability_status}
        **Exposure:** {exposure_status}

      assign_to:
        method: codeowners_file
        fallback: team_lead_for_service

    notifications:
      critical:
        - channel: slack
          target: "#security-critical"
          mention: "@oncall-security"
        - channel: pagerduty
          severity: high
      high:
        - channel: slack
          target: "#security-findings"
      medium_and_low:
        - channel: jira_only
Developers get tickets that actually explain why something matters, what to do about it, and how urgent it is. No more "Critical vulnerability detected" with a link to a CVE page and zero context.
Step 5: Generate Compliance Documentation Automatically
For every finding — whether fixed, accepted, or dismissed — the agent creates an audit-ready record.
  compliance:
    documentation:
      auto_generate: true
      format: structured_markdown
      include:
        - finding_details
        - triage_decision_and_rationale
        - risk_score_calculation_breakdown
        - remediation_action_taken
        - timeline (detected → triaged → assigned → resolved)
        - approval_chain

    frameworks:
      - soc2_cc7  # Change management controls
      - iso27001_a12  # Operations security
      - pci_dss_6  # Develop and maintain secure systems

    export:
      format: [pdf, json]
      schedule: monthly
      destination: compliance_team_drive
When audit season comes, you have a complete, timestamped record of every security finding and what happened to it. No more scrambling to reconstruct decisions from Slack threads and memory.
Step 6: Deploy and Iterate
Deploy the agent through OpenClaw's platform, connect it to your existing tools via the integrations, and start with a shadow mode — where the agent makes recommendations but doesn't take action. Let your security team compare the agent's triage decisions against their own for two to three weeks.
During shadow mode, you'll calibrate the confidence thresholds, adjust the risk score weights for your specific environment, and build up the historical training data that makes the false positive filter accurate.
After calibration, switch to active mode for low-risk actions (auto-dismissing high-confidence false positives, creating tickets, generating documentation) while keeping humans in the loop for high-stakes decisions (risk acceptance, critical finding validation).
You can find pre-built security scanning agent templates and the specific tool connectors you'll need on Claw Mart, where the community has shared configurations for common scanning tool integrations, compliance framework templates, and prioritization models.
What Still Needs a Human
Be honest about this. An AI agent that handles triage and routing doesn't replace your security team. It replaces the worst parts of their job so they can focus on the most important parts.
Humans should still own:
-
Risk acceptance decisions. When the business decides to ship with a known vulnerability because the fix requires a major architectural change and the risk is bounded, that's a human call. The agent can surface the information and draft the risk acceptance document, but a person signs off.
-
Architectural security review. No scanner catches "we're storing API keys in a database that every microservice can read." Design-level security requires human understanding of system intent.
-
Novel threat analysis. When a new zero-day drops and you need to assess your exposure before any scanner has rules for it, that's security expertise, not pattern matching.
-
Vendor and third-party risk assessment. Evaluating whether a new SaaS vendor's security posture meets your standards involves reading SOC 2 reports, asking pointed questions, and making judgment calls.
-
Policy creation and tuning. Deciding what your security policies should be is a human responsibility. The agent enforces them.
Expected Time and Cost Savings
Based on the data from organizations that have implemented AI-driven triage (ING Bank, multiple Fortune 500 companies in the Wiz and Snyk case studies, GitHub Advanced Security adopters):
Conservative estimates:
| Metric | Before | After | Improvement |
|---|---|---|---|
| Triage time per engineer/week | 15-25 hours | 3-5 hours | 70-80% reduction |
| False positives reaching humans | 35-60% of findings | 5-15% of findings | 50-70% reduction |
| Median time to fix critical vulns | 19-32 days | 5-10 days | 60-70% reduction |
| Compliance documentation time | 3-8 hours/week | <1 hour/week | 80-90% reduction |
| Developer time on security tasks | 3.8 hours/week | 1-1.5 hours/week | 60% reduction |
For a team of 3 security engineers at ~$175K each:
- Current cost of manual triage/routing work: ~$315,000/year (60% of combined salary)
- Expected cost after automation: ~$80,000/year (remaining human oversight)
- Net savings: ~$235,000/year — plus faster fixes, better developer experience, and cleaner audits
Companies using AI-driven prioritization (like those adopting Wiz's AI risk graph) report reducing their active cloud security issues by 70%+ — not because they fixed more things, but because they stopped wasting time on things that didn't matter.
GitHub Advanced Security users see 2-3x more issues actually fixed when AI-generated fix suggestions are included in pull requests. That's the real metric: not findings detected, but findings resolved.
Next Steps
If you want to build this:
-
Start with your noisiest scanner. Whichever tool produces the most false positives is where you'll get the fastest ROI. Build the triage agent for that tool first.
-
Export your historical triage data. Every "dismissed" or "false positive" label from the past 6-12 months is training data. The more you have, the better the agent's false positive filter will be on day one.
-
Pick your compliance framework. Knowing your audit requirements upfront lets you configure documentation generation correctly from the start.
-
Head to Claw Mart to grab pre-built connectors for your specific scanning tools and a security triage agent template. The community has already solved a lot of the integration plumbing.
-
Run shadow mode for two to three weeks before letting the agent take any automated actions. Trust but verify.
The security scanning problem isn't a detection problem — it's a decision-throughput problem. The tools we have find plenty of issues. What we lack is the capacity to think about all of them intelligently. That's exactly the kind of problem an AI agent is built to solve.
Need help building a security triage agent for your specific tool stack? Clawsource it. Post your project on Claw Mart and connect with builders who've already automated these workflows. Get a custom agent built for your environment, your scanners, and your compliance requirements — without starting from scratch.