How to Run OpenClaw on a Raspberry Pi
Run your AI agent on a $50 computer. Huge hobbyist appeal. Here's how to set up OpenClaw on a Raspberry Pi.
Most people hear "AI agent" and picture some expensive cloud subscription burning through API credits at $0.06 per call. Meanwhile, there's a $50 computer sitting in a drawer that could run your agent 24/7, no monthly fees, no cloud dependency, no nonsense.
I'm talking about a Raspberry Pi. And I'm talking about OpenClaw.
This post is a full walkthrough: hardware, software, wiring, configuration, deployment. By the end, you'll have an always-on AI agent running on a tiny computer that sips electricity and costs less than a nice dinner. Let's get into it.
Why This Combination Works
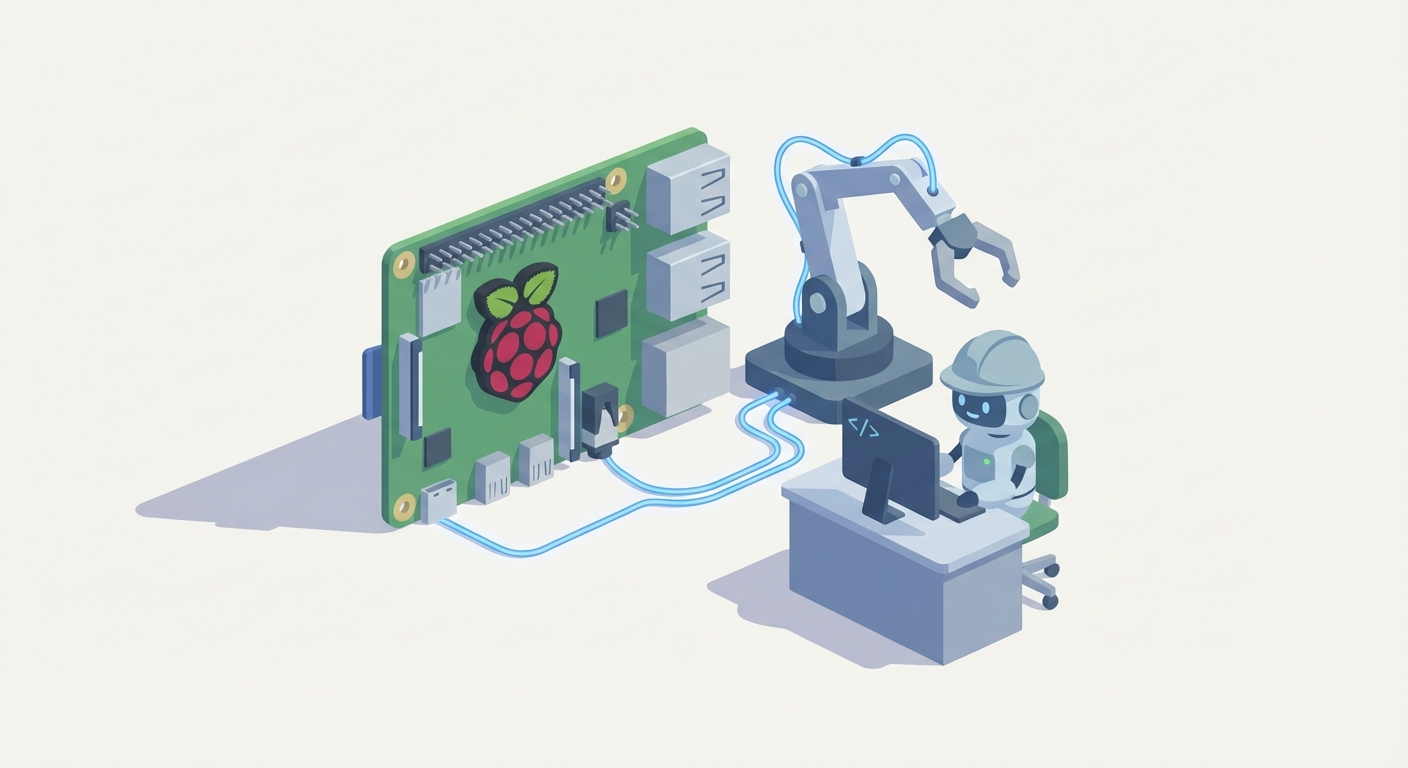
OpenClaw is an open-source AI agent platform designed for exactly this kind of deployment — lightweight, modular, and built to run on constrained hardware. It handles computer vision, servo control, real-time decision-making, and web-based monitoring out of a single Python codebase.
A Raspberry Pi is a credit-card-sized Linux computer with GPIO pins, a camera port, and enough processing power to run object detection at 30+ frames per second. It costs between $45 and $80 depending on the model.
Put them together and you get an autonomous AI employee that runs on your desk, in your garage, at a pop-up event, or anywhere you have a power outlet. No cloud. No subscription. No latency from round-tripping to a remote server.
The total build cost ranges from $200 for a minimal setup to $600 for a full-featured enclosure with lights and custom training. Operational cost? Less than ten cents per hour of electricity.
Let's build it.
Step 0: Choose Your Hardware
Before you write a single line of code, you need to pick a Pi and gather components. Here's what I recommend and why.
The Raspberry Pi
Go with a Raspberry Pi 5 (8GB) if you can get one. It's the best performer for real-time computer vision — the ARM Cortex-A76 CPU and VideoCore VII GPU handle OpenClaw's detection pipeline at 30-45 FPS without breaking a sweat. Street price: $60-80.
Raspberry Pi 4B (4GB or 8GB) is a solid budget option. Most community builds use this model. It's proven stable at 20-30 FPS, which is more than enough for reliable operation. You can find these for $45-75.
Do not use a Pi 3B/B+, Pi Zero, or Pi Zero 2W. The Pi 3 maxes out under 10 FPS with computer vision, and the Zero series simply doesn't have the CPU or memory for OpenCV processing. You'll waste hours debugging lag that isn't a software problem — it's a hardware ceiling.
The Full Bill of Materials
Here's every component you need, with approximate costs:
| Component | Recommendation | Cost (USD) |
|---|---|---|
| Raspberry Pi | Pi 5 8GB or Pi 4B 8GB | $45–80 |
| Camera | Raspberry Pi Camera Module 3 (12MP, autofocus) | $25–35 |
| Servos (4–6) | MG996R (high-torque, claw/arm) + SG90 (joystick/light duty) | $50–100 total |
| Stepper/DC Motor | NEMA 17 + driver board (for claw drop/raise mechanism) | $15–30 |
| Arcade Buttons/Joystick | 5V USB encoder or direct GPIO buttons | $10–25 |
| PCA9685 Servo Driver | 16-channel PWM driver (I2C) | $5–10 |
| Power Supply | 5V/5A USB-C (Pi) + 12V/10A (servos/motors) | $15–25 |
| Frame/Chassis | 3D-printed or laser-cut acrylic (STL files included in OpenClaw repo) | $20–100 |
| Miscellaneous | 32GB+ SD card, jumper wires, breadboard, heatsink/fan | $20–40 |
| Total | Basic build | $200–300 |
| Full build (enclosure, LEDs, polish) | $400–600 |
Many of these components are available as bundles on Claw Mart. Check the servo kits, PCA9685 driver boards, and camera modules in the shop — buying as a kit saves you the headache of sourcing from five different suppliers and hoping the specs are compatible.
If you want LED ring lighting for consistent computer vision (highly recommended — more on that later), Claw Mart carries plug-and-play LED rings designed for Pi camera setups.
Step 1: Prepare the Raspberry Pi
Flash your SD card and get the operating system ready.
Flash the OS
Download the Raspberry Pi Imager from raspberrypi.com/software. Select Raspberry Pi OS Lite (64-bit) as your operating system. The Lite version doesn't include a desktop environment — you don't need one. Everything runs headless.
In the imager's advanced settings (gear icon), configure:
- Hostname:
openclaw.local - Enable SSH: Yes, with password authentication
- Set username/password: Whatever you want
- Configure WiFi: Enter your network credentials
Flash the card, insert it into the Pi, and power on.
SSH In and Update
From your laptop:
ssh pi@openclaw.local
Once connected:
sudo apt update && sudo apt full-upgrade -y
sudo reboot
Enable Interfaces
After reboot, SSH back in and run:
sudo raspi-config
Navigate to Interface Options and enable:
- Camera (or Legacy Camera, depending on your OS version)
- I2C (for the PCA9685 servo driver)
- SSH (should already be on)
Reboot again.
Install System Dependencies
sudo apt install -y python3-pip python3-venv git \
  libatlas-base-dev libopencv-dev libhdf5-serial-dev \
  libjasper-dev libqtgui4 libqt4-test \
  i2c-tools
Verify I2C is working by connecting the PCA9685 and running:
sudo i2cdetect -y 1
You should see a device at address 0x40. If not, check your wiring (SDA to GPIO 2, SCL to GPIO 3).
Step 2: Install OpenClaw
Here's where the magic happens.
git clone https://github.com/fabio-d/openclaw.git
cd openclaw
python3 -m venv venv
source venv/bin/activate
pip install -r requirements.txt
The requirements.txt pulls in everything OpenClaw needs: OpenCV, Flask (for the web monitoring UI), RPi.GPIO, Adafruit servo libraries, and the detection model dependencies. On a Pi 5, this install takes about 5-8 minutes. On a Pi 4, expect 10-15.
Verify the install:
python3 -c "import cv2; print(cv2.__version__)"
python3 -c "from adafruit_servokit import ServoKit; print('Servo library OK')"
Both should return without errors.
Step 3: Wire Everything Up
This is the part most tutorials gloss over. I'm not going to do that.
Wiring Diagram Overview
OpenClaw includes a full pinout diagram in /docs/hardware.md, but here's the critical layout:
PCA9685 Servo Driver (I2C):
- VCC → Pi 3.3V (logic) + External 5-6V supply (servo power, V+ terminal)
- GND → Pi GND + External PSU GND (common ground is critical)
- SDA → Pi GPIO 2
- SCL → Pi GPIO 3
Servo Assignments (PCA9685 channels):
- Channel 0: Claw open/close servo (MG996R)
- Channel 1: X-axis arm servo (MG996R)
- Channel 2: Y-axis arm servo (MG996R)
- Channel 3: Joystick X (SG90)
- Channel 4: Joystick Y (SG90)
- Channel 5: Drop motor relay/servo
Camera:
- Connect to CSI port using the ribbon cable. Make sure the contacts face the right way (blue tab toward the USB ports on Pi 4, toward the Ethernet on Pi 5).
Arcade Buttons:
- Button 1 (Start/Grab) → GPIO 17
- Button 2 (Mode) → GPIO 27
- Button 3 (Reset) → GPIO 22
- All buttons share a common GND line. Use 10kΩ pull-up resistors or enable internal pull-ups in software.
Power:
- Pi: 5V/5A USB-C power supply. Don't cheap out here. Undervoltage causes random reboots.
- Servos/Motors: Separate 5-6V supply for servos, 12V for stepper motors. Never power servos from the Pi's GPIO. You'll fry the board.
- Common ground between Pi and external PSUs. This is non-negotiable. Without it, your I2C signals will be garbage.
The Most Common Wiring Mistake
People connect everything to the Pi's 5V pin and wonder why the screen flickers and servos twitch randomly. The Pi's 5V rail can supply maybe 500mA total for peripherals. A single MG996R servo draws 500mA-1A under load. Four servos? You need 2-4A from a dedicated supply.
Buy a proper 5V/5A buck converter or a bench power supply. It's $10 and saves you from destroying a $70 Pi.
Step 4: Configure OpenClaw
Open the configuration file:
nano config.yaml
Here's what matters:
camera:
  resolution: [640, 480]  # Don't go higher unless Pi 5 + need accuracy
  fps: 30
  rotation: 0  # Adjust if camera is mounted upside down

servos:
  claw:
    channel: 0
    min_angle: 30    # Closed position (calibrate this)
    max_angle: 150   # Open position
  arm_x:
    channel: 1
    min_angle: 0
    max_angle: 180
  arm_y:
    channel: 2
    min_angle: 0
    max_angle: 180

detection:
  model: "yolov5n"   # Nano model — fastest, good enough
  confidence: 0.5     # Minimum detection confidence
  classes: ["plush", "ball", "toy"]  # What to look for

gpio:
  button_grab: 17
  button_mode: 27
  button_reset: 22

web:
  port: 5000
  host: "0.0.0.0"    # Accessible from any device on network
Calibrate Your Servos
This step is crucial. Run:
python3 calibrate_servos.py
This opens an interactive prompt where you set each servo's position manually and save the min/max angles. Spend 10 minutes on this. Poor calibration means the claw misses by centimeters, and you'll blame the AI when it's really a mechanical issue.
Custom Model Training (Optional but Recommended)
The stock YOLOv5 nano model detects generic objects at about 50-70% accuracy. If you train it on your actual prizes, accuracy jumps to 80%+.
cd training/
python3 capture_training_data.py  # Takes photos of your prizes via the Pi camera
python3 train.py --epochs 50       # ~1-2 hours on Pi 5, ~3-4 hours on Pi 4
Place 20-30 prizes in the play area, capture images from multiple angles and lighting conditions, label them using the built-in annotation tool, and train. The resulting model file drops into the /models directory and is auto-loaded on next startup.
Step 5: Launch and Monitor
Start OpenClaw:
python3 main.py
You'll see output like:
[INFO] Camera initialized: 640x480 @ 30fps
[INFO] PCA9685 detected at 0x40
[INFO] Loading model: yolov5n (custom)
[INFO] Flask server running at http://0.0.0.0:5000
[INFO] OpenClaw ready. Waiting for input...
Open a browser on your phone or laptop and go to http://openclaw.local:5000. You'll see a live camera feed with detection overlays, servo positions, grab history, and success rate stats.
Connect Telegram Notifications
OpenClaw supports Telegram webhooks for remote monitoring. In config.yaml:
notifications:
  telegram:
    enabled: true
    bot_token: "YOUR_BOT_TOKEN"
    chat_id: "YOUR_CHAT_ID"
    events: ["grab_success", "grab_fail", "error", "startup"]
Get a bot token from @BotFather on Telegram, message your bot to get your chat ID, and you'll receive push notifications every time the agent makes a grab, hits an error, or restarts. It takes about three minutes to set up and means you never have to babysit the machine.
Make It Always-On
Create a systemd service so OpenClaw starts on boot:
sudo nano /etc/systemd/system/openclaw.service
[Unit]
Description=OpenClaw AI Agent
After=network.target

[Service]
User=pi
WorkingDirectory=/home/pi/openclaw
ExecStart=/home/pi/openclaw/venv/bin/python3 main.py
Restart=always
RestartSec=10

[Install]
WantedBy=multi-user.target
sudo systemctl daemon-reload
sudo systemctl enable openclaw
sudo systemctl start openclaw
Done. Your AI agent now survives reboots, power outages, and random crashes. It's always on.
Performance: What to Actually Expect
Let's be honest about what this hardware can and can't do.
| Metric | Pi 5 | Pi 4B |
|---|---|---|
| Detection FPS | 30–45 | 20–30 |
| Grab Success Rate | 70–85% | 60–80% |
| Servo Response Latency | <200ms | 250–400ms |
| Power Draw (full operation) | 10–15W | 10–15W |
| Peak Draw (drop motor active) | 20–30W | 20–30W |
The biggest variable isn't the Pi — it's lighting. Inconsistent lighting destroys detection accuracy. An LED ring light ($10 from Claw Mart) mounted around the camera makes a massive difference. Community builds report a 15-20% accuracy improvement just from adding consistent illumination.
Optimizations that actually matter:
- Multithreading: OpenClaw runs CV and servo control on separate threads by default. Don't disable this.
- TensorRT: On Pi 5, enable TensorRT for inference. It roughly doubles detection speed.
- Overclock: Pi 5 is stable at 1.8GHz with a heatsink and fan. Free performance.
- Resolution: Stay at 640x480. Going to 1080p cuts your FPS in half and barely improves grab accuracy.
What it won't do: This isn't an industrial arcade machine. Professional claw machines use dedicated PLCs and industrial vision systems. But for events, parties, maker spaces, content creation, and learning? A Pi running OpenClaw is more than enough.
Cost Breakdown and ROI
Let's talk money.
One-time costs:
- Basic build: $200-300
- Full build with enclosure and polish: $400-600
Ongoing costs:
- Electricity: ~$0.08/hour at US rates (the Pi draws 10-15W under load)
- Servo replacement: ~$5-10 per servo, every 1000+ grab cycles
- SD card replacement: Every 1-2 years if running 24/7
That's it. No API fees. No cloud hosting. No monthly subscription. The agent runs locally on hardware you own.
For context: if you run this at an event charging $1 per play, you break even after 200-600 plays. Community builders report averaging 50-100 plays per hour at events. You're profitable in a single afternoon.
Troubleshooting the Three Things That Will Go Wrong
Because something always goes wrong.
1. Servo jitter/twitching. Cause: Inadequate power supply or electrical noise. Fix: Use a dedicated 5-6V servo PSU, add 100µF capacitors across servo power leads, and ensure common ground with the Pi.
2. Computer vision lag or low FPS.
Cause: Resolution too high, CPU throttling from heat, or background processes. Fix: Confirm 640x480 in config, install a heatsink/fan ($5), and use Pi OS Lite (no desktop overhead). Run vcgencmd measure_temp — if you're above 80°C, you're thermal throttling.
3. Camera not detected.
Cause: Ribbon cable seated wrong, camera not enabled in raspi-config, or legacy camera stack issues. Fix: Reseat the cable (contacts facing the correct direction), run libcamera-hello to test, and if you're on Bookworm OS, make sure you're not trying to use the legacy camera stack.
What to Do Next
You've got a working AI agent on a $50 computer. Here's where to go from here:
-
Train a custom model on your actual prizes. Stock models are fine for testing, but custom training is where accuracy gets real. Spend an afternoon on it.
-
Build or buy a proper enclosure. The STL files in the OpenClaw repo are a starting point. Claw Mart sells pre-cut acrylic panels and hardware kits designed for OpenClaw builds — saves significant time over sourcing and cutting your own.
-
Add a coin acceptor or QR payment. OpenClaw supports GPIO-triggered play sessions. Wire a coin mechanism to a GPIO pin and you've got a revenue-generating machine.
-
Join the community. The OpenClaw Discord (linked in the GitHub repo) is active and helpful. People share custom models, frame designs, and optimizations constantly.
-
Browse Claw Mart for servo kits, replacement parts, LED lighting, camera modules, and complete build bundles. Everything is tested and compatible with OpenClaw builds, so you don't have to cross-reference datasheets at 2 AM.
The whole project — from unboxing the Pi to a working, always-on AI agent — takes a weekend. One weekend, a few hundred dollars, and you've got something most people think requires a cloud engineering team.
Just start building.