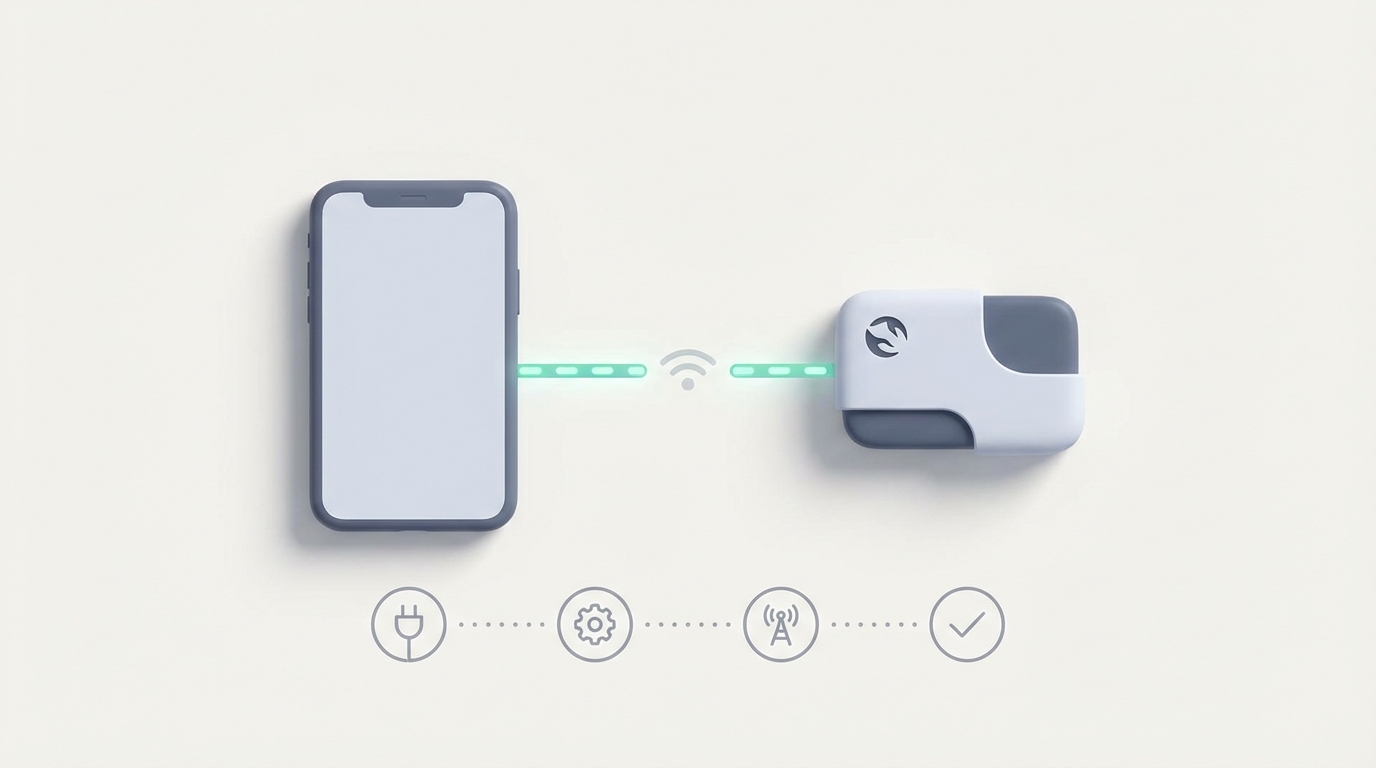
OpenClaw Node Pairing with Phone: Complete Setup Guide
OpenClaw Node Pairing with Phone: Complete Setup Guide
Let's get the obvious out of the way: pairing your phone with an OpenClaw node should take about five minutes. For most people, it takes five hours, three rage-quits, and a desperate scroll through GitHub issues at 2 AM before anything actually works.
I know because I've been there. I spent an embarrassing amount of time fighting wireless ADB pairing, watching my Android disconnect the moment the screen dimmed, and wondering why my perfectly good agent kept dying at step four of a twelve-step automation. The problem was never the agent logic. It was the pipe between my computer and my phone.
This guide is everything I wish someone had handed me the first time I tried to pair a phone with OpenClaw. We'll go from zero to a stable, persistent connection that survives screen-off, phone doze mode, and agent restarts. No fluff, no filler — just the stuff that actually works.
Why Phone Pairing Breaks (And Why It's Not Your Fault)
Before we fix anything, you need to understand why this is painful. It's not an OpenClaw problem specifically — it's an Android problem that every phone-control framework has to wrestle with.
Android's wireless ADB implementation is, to put it charitably, fragile. Here's what's happening under the hood when your pairing "randomly" fails:
The pairing code is ephemeral. When you go to Developer Options → Wireless Debugging → Pair with pairing code, Android generates a one-time six-digit code tied to a temporary mDNS service. That service has a short TTL. If your node doesn't connect within that window, it's gone. If your network is flaky, it's gone. If you sneeze, it's gone.
ADB keys expire or get revoked. Even after a successful initial pairing, Android stores RSA keys that authorize your computer. Phone reboots, OS updates, or simply toggling Developer Options off and on can wipe those keys. Now your node thinks it's connected, but the phone is rejecting every command silently.
Doze mode kills the connection. Android's battery optimization (Doze) aggressively throttles background network activity when the screen is off. Your ADB connection doesn't get a special exemption. After a few minutes of inactivity, the TCP connection dies and your agent is talking to a void.
Wi-Fi network changes break everything. Wireless ADB binds to a specific IP. Your phone hops to a different access point, gets a new DHCP lease, or your router decides to shuffle things around — and now the IP your node is targeting doesn't exist anymore.
This is why people report that pairing "works for twenty minutes then never again." It's not random. It's a cascade of Android's default behaviors conspiring against persistent connections.
What You Need Before Starting
Let's get your prerequisites squared away. Missing any one of these will cause silent failures that are maddening to debug.
On your phone (Android 11+):
- Developer Options enabled (Settings → About Phone → tap Build Number 7 times)
- USB Debugging enabled
- Wireless Debugging enabled (this is a separate toggle from USB Debugging)
- "Disable adb authorization timeout" enabled (this is critical and often missed — it's in Developer Options on Android 12+)
- Battery optimization disabled for any OpenClaw companion app you install
- Stay Awake while charging enabled (Developer Options → Stay Awake)
On your computer/server (the OpenClaw node host):
- Android Platform Tools installed (
adbavailable in your PATH) - OpenClaw node installed and running (minimum version 0.4.x recommended)
- Python 3.10+ (for running OpenClaw's daemon and any custom skills)
- Same Wi-Fi network as your phone (or a wired connection via USB, which we'll cover as a fallback)
Optional but strongly recommended:
- A dedicated Wi-Fi network or static IP assignment for your phone
- A USB cable as backup (seriously, keep one plugged in during initial setup)
Step 1: The Initial Pairing
Open your phone, go to Settings → Developer Options → Wireless Debugging, and tap Pair device with pairing code. You'll see something like:
Wi-Fi Pairing Code: 482916
IP address & Port: 192.168.1.47:37589
Now, on your node host, run:
adb pair 192.168.1.47:37589
Enter the code 482916 when prompted. You should see:
Successfully paired to 192.168.1.47:37589 [guid=adb-XXXXXXXX-XXXXXX]
Important: The pairing port (37589 in this example) is different from the connection port. After pairing, look at the Wireless Debugging screen on your phone — it'll show an "IP address & Port" under the main toggle (not the pairing dialog). That's your connection port.
adb connect 192.168.1.47:41234
Verify with:
adb devices
You should see your device listed as 192.168.1.47:41234 device. If it says unauthorized or offline, your keys didn't stick. We'll fix that in the troubleshooting section below.
Step 2: Registering the Device with Your OpenClaw Node
Now that ADB can see your phone, we need OpenClaw to manage the connection. This is where OpenClaw diverges from the typical "just shell out to ADB" approach that most people start with.
In your OpenClaw node configuration (usually ~/.openclaw/config.yaml or wherever your node's config lives), add a device block:
devices:
  my-phone:
    type: android
    transport: wireless_adb
    host: 192.168.1.47
    port: 41234
    auto_reconnect: true
    reconnect_interval_seconds: 10
    screen_capture_method: scrcpy
    ui_hierarchy: true
    doze_bypass: true
    session_persistence: true
Let's break down the important flags:
-
auto_reconnect: true— This is the single most important setting. It tells OpenClaw's device daemon to monitor the ADB connection and automatically re-establish it when it drops. Without this, you're back to manualadb connectevery time your phone hiccups. -
reconnect_interval_seconds: 10— How often the daemon checks if the connection is alive. Ten seconds is a good balance between responsiveness and not hammering your network. I wouldn't go below 5. -
screen_capture_method: scrcpy— Uses scrcpy under the hood for screen mirroring, which is significantly faster than repeatedadb exec-out screencapcalls. The latency difference is dramatic: ~200ms round-trip vs. 2-4 seconds. -
ui_hierarchy: true— This is OpenClaw's hybrid approach. Instead of relying purely on vision (sending screenshots to a model and hoping it identifies the right button), it also dumps the Android UI hierarchy (similar to uiautomator2). This gives your agent structured data about what's on screen — button labels, text field contents, clickable elements with their exact coordinates. Vision models can still misread a dark-mode toggle or confuse two similar icons; the UI hierarchy doesn't lie. -
doze_bypass: true— Configures the phone (via ADB commands) to exempt the connection from Doze mode battery throttling. Specifically, it runsadb shell dumpsys deviceidle whitelist +com.android.shelland sets a partial wake lock. Be aware this will impact battery life. If your phone is plugged in (which it should be for any serious agent work), this is a non-issue. -
session_persistence: true— Saves the ADB RSA keys and connection state so that if your OpenClaw node restarts, it doesn't need to go through the full pairing flow again. This alone saves an absurd amount of time.
Now restart your OpenClaw node:
openclaw node restart
And check device status:
openclaw device status my-phone
You should see:
Device: my-phone
Status: connected
Transport: wireless_adb (192.168.1.47:41234)
Screen Capture: scrcpy (active)
UI Hierarchy: available
Session: persistent (key stored)
Uptime: 0m 12s
Step 3: Testing the Connection
Before you build anything complex, verify that the full pipeline works. OpenClaw includes a simple test command:
openclaw device test my-phone --actions tap,swipe,screenshot,hierarchy
This will:
- Take a screenshot and save it locally
- Dump the UI hierarchy to XML
- Perform a test tap at the center of the screen
- Perform a test swipe
If any of these fail, the output will tell you exactly which step broke and why. Common failures at this stage:
- "Screenshot failed: device not responding" — Your ADB connection dropped between config and test. Check that
auto_reconnectactually kicked in by looking at the node logs:openclaw node logs --tail 50 - "Hierarchy dump timeout" — The accessibility service isn't responding. On your phone, go to Settings → Accessibility and make sure no other accessibility services are conflicting. Some banking apps and security apps block UI hierarchy access.
- "Tap failed: security exception" — You need to enable "USB debugging (Security settings)" on some phone manufacturers (especially Xiaomi, Oppo, Vivo). This is separate from regular USB debugging and is often hidden deep in Developer Options.
Step 4: Keeping It Alive (The Hard Part)
The initial connection is the easy part. Keeping it alive for hours or days is where most setups fall apart. Here's my battle-tested configuration for long-running agents:
On the phone, install a lightweight keep-alive app or use OpenClaw's companion APK if available:
openclaw device install-companion my-phone
This installs a minimal background service on your phone that:
- Sends periodic heartbeat pings to prevent Doze from killing the connection
- Holds a partial wake lock (configurable)
- Automatically re-enables wireless debugging if the phone toggles it off after an update
On the node, add a health check to your config:
devices:
  my-phone:
    # ... previous config ...
    health_check:
      enabled: true
      interval_seconds: 30
      action_on_failure: reconnect
      max_reconnect_attempts: 10
      escalation: notify  # sends a webhook/notification if all attempts fail
Set a static IP for your phone. This is boring network administration, but it eliminates the single most common cause of connection drops. Either configure a DHCP reservation on your router (map your phone's MAC address to a fixed IP) or set a static IP directly on the phone:
Settings → Wi-Fi → your network → Advanced → IP Settings → Static
IP: 192.168.1.47
Gateway: 192.168.1.1
DNS: 8.8.8.8 / 8.8.4.4
Subnet: 255.255.255.0
Update your OpenClaw config if the IP changes.
The USB Fallback (Honestly, Just Do This)
I'm going to be real with you: if you're running an agent that does anything important — automating workflows, managing messages, handling any kind of time-sensitive task — just use a USB cable.
devices:
  my-phone:
    type: android
    transport: usb
    serial: auto  # auto-detects the USB-connected device
    screen_capture_method: scrcpy
    ui_hierarchy: true
    session_persistence: true
USB connections don't drop from Doze mode. They don't care about Wi-Fi. They don't need pairing codes. The phone charges while connected. It just works.
Wireless is great for demos and light testing. USB is for production.
Troubleshooting the Common Nightmares
"Device shows as 'unauthorized' after reboot"
Your ADB RSA keys got wiped. On the phone, go to Developer Options → Revoke USB Debugging Authorizations, then re-pair. With session_persistence: true, OpenClaw should handle this automatically on subsequent reboots, but the first time after a revocation requires manual intervention.
"Connection works, but agent taps are offset by 50 pixels"
Your scrcpy resolution doesn't match the actual display resolution. Add to your config:
devices:
  my-phone:
    screen_capture:
      resolution: native  # don't downscale
      orientation_lock: portrait
"Agent gets stuck on 'Allow USB debugging?' dialog"
Check "Always allow from this computer" when the dialog appears. If it keeps reappearing, your ADB keys are being regenerated. Delete ~/.android/adbkey and ~/.android/adbkey.pub, run adb kill-server && adb start-server, and re-pair from scratch.
"Everything works until I switch apps, then the hierarchy dump returns empty"
Some apps (banking, DRM-protected content, certain games) set FLAG_SECURE, which blocks both screenshots and hierarchy dumps. OpenClaw can't override this without root. Plan your agent workflows around this limitation.
Skip the Setup Headaches
I've walked you through the full manual setup because I think it's important to understand what's happening under the hood. When something breaks at 3 AM, you need to know why.
That said, if you don't want to spend your afternoon debugging YAML configs and ADB key management, Felix's OpenClaw Starter Pack on Claw Mart is genuinely worth the $29. It includes pre-configured skills that handle the phone pairing flow, auto-reconnection, and the keep-alive logic out of the box. The device config templates alone saved me a few hours of trial and error, and the included skills cover the most common phone automation patterns — screen reading, app navigation, notification handling — so you're not writing everything from scratch.
It's not magic. It's the same underlying OpenClaw infrastructure we just walked through. But it's pre-wired correctly, which matters more than most people want to admit. Think of it as buying pre-cut lumber instead of milling your own boards. The house is the same either way, but one path involves a lot less sawdust in your eyes.
What Comes Next
Once your phone is paired and the connection is stable, the real fun starts. You can:
- Build agent skills that interact with specific apps — automate messaging, manage calendars, monitor notifications
- Chain phone actions with other OpenClaw tools — pull data from a phone app, process it with an agent, push results somewhere else
- Set up scheduled automations — morning briefing agents that check your phone's notifications and summarize them
- Create multi-device workflows — pair multiple phones or tablets to a single node
The connection layer is the foundation. Everything else in OpenClaw builds on top of a phone that stays connected and responsive. Get this part right, and the rest is just writing good agent logic.
And if your connection drops after reading this entire guide, check your USB cable first. Seriously. Half the "broken" setups I've debugged for people turned out to be a $2 gas station cable that couldn't maintain a data connection. Get a decent cable. Your future self will thank you.