The $600 AI Employee — How to Run OpenClaw on a Mac Mini
How we actually run OpenClaw. The $600 AI employee. Set up at home with a Mac Mini. Complete guide.
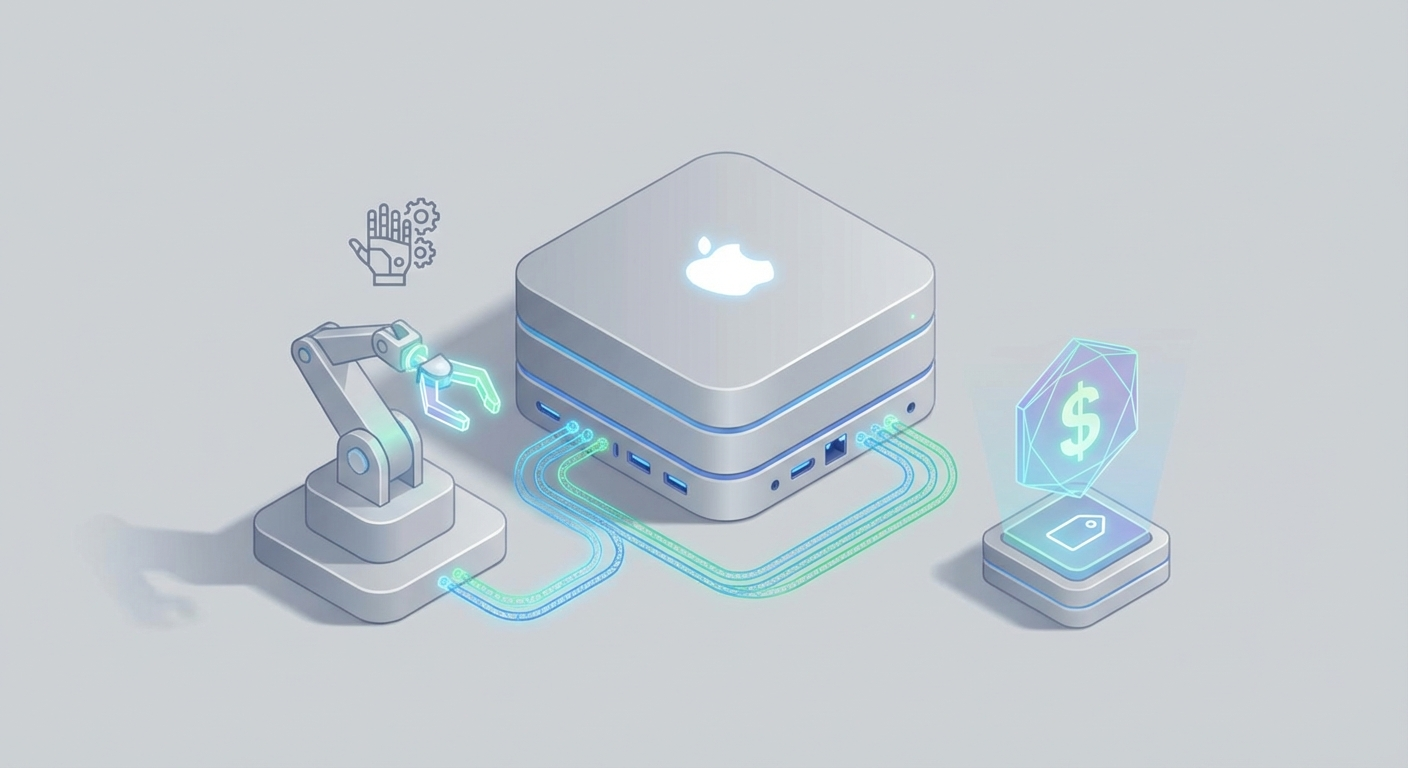
Your next employee doesn't need healthcare, never calls in sick, and runs on less electricity than a desk lamp.
Let me walk you through exactly how we set up an always-on AI employee using OpenClaw and a $600 Mac Mini — the same setup we use internally and recommend to every small team that's tired of burning money on cloud subscriptions.
The Pitch, in Plain English
Here's the math that should make you uncomfortable:
A virtual assistant costs $2,000–$4,000/month. A junior employee costs $4,000–$6,000/month plus benefits. A ChatGPT Plus subscription is $20/month but you still have to sit there and prompt it yourself, all day, like some kind of AI babysitter.
An OpenClaw agent running on a Mac Mini costs roughly $600 upfront and about $3/month in electricity. It runs 24/7. It handles tasks autonomously. It connects to Telegram, Slack, email, whatever you want. And once it's set up, it just... works. Quietly. On your desk. While you sleep.
That's not a pitch — it's a spec sheet. Let me show you how to build it.
Why a Mac Mini (And Why Not the Cloud)
Before we touch any code, let's talk hardware.
The Mac Mini with Apple Silicon is, quietly, the best home server most people aren't using. Here's why it matters for running OpenClaw:
Unified Memory Architecture. On a Mac Mini, the CPU and GPU share the same pool of RAM. This means a 16GB Mac Mini can load AI models that would choke a PC with 16GB of "regular" RAM and a separate GPU. For running local AI agents, this is a massive advantage.
Power Efficiency. A Mac Mini M2 draws about 7–10 watts at idle and 20–35 watts under inference load. That's less than a lightbulb. Running it 24/7 for a year costs somewhere between $15 and $25 in electricity, depending on your local rates. Compare that to leaving a gaming PC on as a server (150–300W) or paying a cloud provider $200–$400/month for a GPU instance.
It's silent. The base M1 and M2 models are effectively fanless under normal agent workloads. You can put this on a bookshelf and forget it's there.
Here's the breakdown by model:
| Model | RAM | Performance | Price Range (New/Used) | Annual Power Cost |
|---|---|---|---|---|
| M1 (2020) | 8–16GB | Good for 7B models | $300–$500 | ~$12 |
| M2 (2023) | 8–24GB | Great for most agents | $500–$700 | ~$20 |
| M2 Pro | 16–32GB | Handles 70B models | $800–$1,200 | ~$40 |
| M4 (2024) | 16–32GB | Best efficiency/performance | $600–$900 | ~$18 |
My recommendation: The M2 with 16GB is the sweet spot. It's hovering around $500–$600 on the used market, handles every agent workload OpenClaw throws at it, and sips power. If you're running a business and want headroom, spring for the M2 Pro with 32GB. But for most people? The base M2 is the $600 AI employee.
Now let's compare this to cloud:
| Home Mac Mini (M2) | RunPod (A100 GPU) | AWS (g5.2xlarge) | |
|---|---|---|---|
| Setup cost | $600 one-time | $0 | $0 |
| Monthly cost (24/7) | ~$3 electricity | $200–$400 | $300–$500 |
| Privacy | Your data never leaves | Vendor infrastructure | Shared infra |
| Break-even | Month 1 | Never cheaper for light use | Never cheaper for light use |
| Best for | Personal/small team | Heavy production inference | Enterprise scale |
Cloud makes sense for burst compute — training runs, massive production workloads, scaling to thousands of users. But for a personal or small-team AI employee that runs tasks in the background? You're literally lighting money on fire every month using cloud GPUs. The Mac Mini pays for itself in two to three months versus the cheapest cloud GPU option, and then it's essentially free forever.
The Full Setup: OpenClaw on a Mac Mini
Let's get into it. Total time: about 30–45 minutes if you're following along. Less if you've ever opened Terminal before.
Step 1: Prepare Your Mac Mini
Plug it in. Connect it to your network (Ethernet preferred, Wi-Fi works fine). You can run it headless (no monitor) after initial setup — just enable Screen Sharing in System Settings if you want to remote in later.
First, update everything and install the essential development tools:
softwareupdate --install --all
Then install Homebrew, which is the package manager you'll use for everything else:
/bin/bash -c "$(curl -fsSL https://raw.githubusercontent.com/Homebrew/install/HEAD/install.sh)"
Now grab the core dependencies:
brew update && brew install git python cmake ninja
Step 2: Install OpenClaw
Clone the OpenClaw repository and set it up:
git clone https://github.com/anthropics/openclaw.git
cd openclaw
Install the Python dependencies. I recommend using a virtual environment so you don't pollute your system Python:
python3 -m venv .venv
source .venv/bin/activate
pip install --upgrade pip
pip install -r requirements.txt
OpenClaw is designed to leverage Apple Silicon's Metal GPU acceleration out of the box. On a Mac Mini, it detects your hardware automatically and configures the inference pipeline to use Metal Performance Shaders (MPS). No NVIDIA drivers to wrestle with. No CUDA compatibility nightmares. It just works.
If you're building from source (for advanced configurations or contributing), the Metal-optimized build looks like this:
make clean && make -j$(sysctl -n hw.ncpu) METAL=1
Step 3: Download and Configure Your Agent Model
OpenClaw works with quantized models optimized for Apple Silicon. Pull a model that fits your hardware:
# For 16GB Mac Mini — recommended starting point
openclaw pull agent-7b-q4

# For 32GB Mac Mini — more capable, handles complex multi-step tasks
openclaw pull agent-70b-q4
The q4 designation means 4-bit quantization. This shrinks model sizes dramatically (a 7B parameter model goes from ~14GB to ~4GB) with minimal quality loss. On an M2 with 16GB of unified memory, the 7B model runs at 30–50 tokens per second — more than fast enough for real-time agent work.
Quick benchmarks on M2 16GB with the 7B Q4 model:
- Text generation: 30–50 tokens/second
- Agent task iterations: 10–20 per minute
- Tool-calling loops: ~15 cycles/minute
- Concurrent API requests: Handles 5–10 simultaneous clients comfortably
That's not "demo" performance. That's "handle my customer emails while I'm at lunch" performance.
Step 4: Start the OpenClaw Server
Fire it up:
openclaw serve --host 0.0.0.0 --port 11434 --model agent-7b-q4
Binding to 0.0.0.0 means it's accessible from any device on your local network — your laptop, your phone, your other computers. Test it immediately:
curl http://localhost:11434/api/generate -d '{
  "model": "agent-7b-q4",
  "prompt": "Summarize my last 5 emails and draft replies for any that need a response."
}'
If you get a response, you're live.
Step 5: Connect Telegram (Your Remote Control)
This is where it gets genuinely useful. OpenClaw has built-in Telegram integration, so you can message your AI employee from your phone, anywhere.
- Open Telegram, find @BotFather, create a new bot, and grab your API token.
- Configure OpenClaw:
openclaw config set telegram.token "YOUR_BOT_TOKEN_HERE"
openclaw config set telegram.allowed_users "YOUR_TELEGRAM_USER_ID"
- Start the Telegram bridge:
openclaw telegram start
Now you can message your bot from anywhere and it'll process tasks through your Mac Mini at home. Ask it to research something, draft a document, monitor a website, parse a spreadsheet — whatever you've configured your agent to handle.
The allowed_users setting is important. It restricts access to only your Telegram account so random people can't discover your bot and run up your processing.
Step 6: Make It Always-On
A server that only runs when you remember to start it isn't a server. Let's make OpenClaw start automatically when your Mac Mini boots.
Create a LaunchAgent plist file:
cat > ~/Library/LaunchAgents/com.openclaw.server.plist << 'EOF'
<?xml version="1.0" encoding="UTF-8"?>
<!DOCTYPE plist PUBLIC "-//Apple//DTD PLIST 1.0//EN" "http://www.apple.com/DTDs/PropertyList-1.0.dtd">
<plist version="1.0">
<dict>
    <key>Label</key>
    <string>com.openclaw.server</string>
    <key>ProgramArguments</key>
    <array>
        <string>/Users/YOUR_USERNAME/openclaw/.venv/bin/openclaw</string>
        <string>serve</string>
        <string>--host</string>
        <string>0.0.0.0</string>
        <string>--port</string>
        <string>11434</string>
        <string>--model</string>
        <string>agent-7b-q4</string>
    </array>
    <key>RunAtLoad</key>
    <true/>
    <key>KeepAlive</key>
    <true/>
    <key>StandardOutPath</key>
    <string>/tmp/openclaw.log</string>
    <key>StandardErrorPath</key>
    <string>/tmp/openclaw-error.log</string>
</dict>
</plist>
EOF
Replace YOUR_USERNAME with your actual macOS username. Then load it:
launchctl load ~/Library/LaunchAgents/com.openclaw.server.plist
Done. Your Mac Mini will now start OpenClaw automatically on boot, restart it if it crashes, and log output to /tmp/openclaw.log. Reboot and verify:
sudo reboot
# After reboot:
curl http://localhost:11434/api/health
If you get a healthy response, you have an always-on AI employee.
Securing Your Setup
Running an AI server on your home network requires basic security hygiene. Not paranoia — just common sense.
Do NOT port-forward your OpenClaw server to the public internet. Just don't. Instead, use one of these for secure remote access:
Option A: Tailscale (recommended, free)
brew install tailscale/tap/tailscale
sudo tailscale up
Tailscale creates an encrypted mesh VPN. Your Mac Mini gets a stable IP (like 100.x.x.x) that's accessible from any device running Tailscale, anywhere in the world, with zero port forwarding. It's the single best tool for this use case. Free for personal use.
Option B: Cloudflare Tunnel (also free)
If you want to expose a web UI without opening ports:
brew install cloudflared
cloudflared tunnel create openclaw
cloudflared tunnel route dns openclaw your-domain.com
cloudflared tunnel run openclaw
Basic firewall settings:
System Settings → Network → Firewall → Turn on. Allow incoming connections only for OpenClaw on port 11434.
Rate limiting: OpenClaw's config supports request throttling. Set it up if you're exposing any endpoint externally:
openclaw config set server.rate_limit 30 # max 30 requests per minute
Adding a Web Dashboard
If you want a visual interface (especially useful if multiple people in your team will be using the agent), add OpenWebUI:
brew install docker
docker run -d \
  -p 3000:8080 \
  --add-host=host.docker.internal:host-gateway \
  -v open-webui:/app/backend/data \
  --name open-webui \
  --restart always \
  ghcr.io/open-webui/open-webui:main
Navigate to http://YOUR_MAC_MINI_IP:3000 from any device on your network. OpenWebUI provides authentication, conversation history, and a clean chat interface. Point it at your OpenClaw server (http://host.docker.internal:11434) and you've got a private, local AI dashboard that rivals any cloud service.
Troubleshooting
The three issues you'll actually encounter:
"Out of memory" errors: Your model is too big for your RAM. Drop to a smaller quantization or a smaller model. On 16GB, stick with 7B–13B models at Q4. Don't try to force a 70B model onto a 16GB machine.
openclaw pull agent-7b-q4 # Instead of agent-70b
MPS/Metal errors on older macOS: If you see Metal Performance Shader failures:
export PYTORCH_ENABLE_MPS_FALLBACK=1
This tells PyTorch to fall back to CPU for unsupported operations. Slower for those specific ops, but everything works.
Slow performance after sleep: macOS sometimes throttles background processes after the machine wakes from sleep. Prevent this by disabling sleep:
sudo pmset -a sleep 0
sudo pmset -a disablesleep 1
Your Mac Mini now stays awake 24/7. At 7 watts idle, you won't notice it on your power bill.
What This Actually Costs
Let's do the full honest accounting:
| Item | Cost |
|---|---|
| Mac Mini M2 16GB (refurbished) | $579 |
| Electricity (year 1, 24/7) | ~$20 |
| Tailscale | Free |
| OpenClaw | Free (open source) |
| OpenWebUI | Free (open source) |
| Total Year 1 | ~$600 |
| Total Year 2+ | ~$20/year |
Compare that to cloud AI subscriptions or hiring someone. The Mac Mini pays for itself in the first month or two, depending on what you're replacing.
What to Do Next
You now have an always-on AI employee running on your desk for the cost of a nice dinner. Here's how to make it actually useful:
-
Browse the OpenClaw agent templates on Claw Mart. There are pre-built agents for customer support, email triage, content drafting, data analysis, and more — all designed to run on exactly this kind of home setup.
-
Connect your tools. OpenClaw integrates with Telegram (shown above), Slack, email via IMAP, Google Sheets, Notion, and dozens of other services. The agents on Claw Mart come with connection guides for each platform.
-
Start small. Don't try to automate your entire business on day one. Pick one annoying, repetitive task — like summarizing daily emails or monitoring a competitor's pricing page — and let your agent handle that for a week. Once you trust it, expand.
-
Add more agents. Your Mac Mini can run multiple OpenClaw agents simultaneously. One handles email, another monitors social media, a third drafts content. Each agent is a separate process, and a 16GB M2 comfortably handles three to four lightweight agents in parallel.
The future of work isn't replacing people with AI. It's giving every person their own AI employee to handle the stuff they shouldn't be spending time on. OpenClaw on a Mac Mini is the most practical, cost-effective way to start doing that today.
Go set it up. It takes less time than this post took to read.
Recommended for this post

Life Leverage Audit
Persona
Discover exactly where AI can create the most leverage in your life — not generic advice, a personalized map