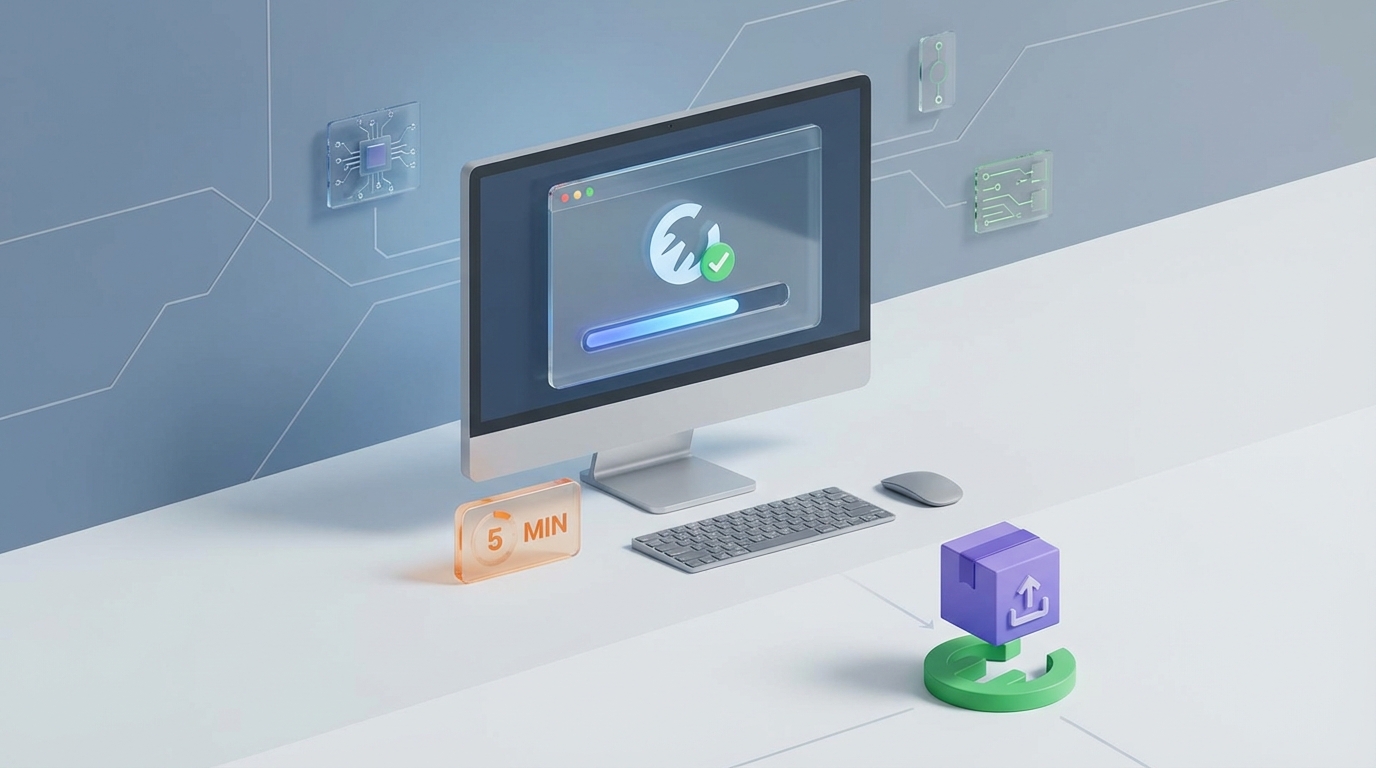
Install OpenClaw on Mac in 5 Minutes
Install OpenClaw on Mac in 5 Minutes
Look, I'll be honest with you: getting OpenClaw running on a Mac should be simple, but it trips up a surprising number of people. I've watched developers — smart ones, people who build production systems for a living — burn an entire afternoon fighting dependency errors, permission dialogs, and architecture mismatches that have nothing to do with actually building AI agents.
That's what OpenClaw is for. You're here because you want to build agents that can actually do things on a computer, and you chose the right platform for it. But the gap between "I want to try OpenClaw" and "I have OpenClaw running and doing useful work" is wider on macOS than it needs to be.
This post closes that gap. Five minutes. Let's go.
Why Mac Installations Get Weird
Before we fix anything, it helps to understand why this is even a problem. OpenClaw is an AI agent platform — it gives your agents the ability to interact with computer interfaces, automate workflows, and execute multi-step tasks that would normally require a human clicking around. That's powerful. It also means the installation touches parts of your operating system that most Python packages never go near.
On macOS specifically, three things conspire against you:
1. ARM64 vs. x86_64 confusion. If you're on an M1, M2, M3, or M4 Mac (which, at this point, is most of you), some dependencies try to install the Intel version. This either fails outright or creates a Frankenstein environment where half your packages are running through Rosetta and the other half aren't.
2. Accessibility and screen permissions. OpenClaw agents need to see and interact with your screen. macOS, rightfully, locks this down. But the permission prompts are inconsistent, sometimes don't appear when they should, and occasionally require a full restart to take effect. If you've ever granted Terminal accessibility access and had it still not work, you know the pain.
3. Python environment chaos. macOS ships with a system Python that you should never touch. Homebrew installs another one. Maybe you have pyenv, maybe conda, maybe both. OpenClaw needs specific versions of packages like pyobjc, Pillow, and various screen-capture libraries that are notoriously picky about which Python they're linked against.
None of these are OpenClaw's fault, exactly. They're macOS being macOS. But knowing the terrain means you won't panic when something looks weird during setup.
The Prerequisites (2 Minutes)
Before you install OpenClaw itself, make sure these three things are in order. If you already have them, skip ahead.
Homebrew
If you don't have Homebrew, open Terminal and run:
/bin/bash -c "$(curl -fsSL https://raw.githubusercontent.com/Homebrew/install/HEAD/install.sh)"
After it installs, make sure it's on your PATH. On Apple Silicon Macs, Homebrew lives at /opt/homebrew/bin, not /usr/local/bin. The installer will tell you to run two commands to add it to your shell profile. Actually do that. Don't skip it.
Python 3.11+
OpenClaw works best on Python 3.11 or 3.12. Check what you have:
python3 --version
If you're below 3.11, install a fresh version:
brew install python@3.12
Then verify:
python3.12 --version
You want to see something like Python 3.12.x. Good. Moving on.
A Clean Virtual Environment
This is non-negotiable. Do not install OpenClaw into your system Python. Do not install it into some old virtual environment you've been using for six other projects. Start clean:
python3.12 -m venv ~/.openclaw-env
source ~/.openclaw-env/bin/activate
You should see (openclaw-env) at the beginning of your terminal prompt. That means you're in the right place.
Quick sanity check:
which python
This should point to something inside ~/.openclaw-env/, not /usr/bin/python or /opt/homebrew/bin/python. If it doesn't, deactivate, delete the venv, and create it again making sure you're using the correct Python binary.
Installing OpenClaw (2 Minutes)
Now the actual install. With your virtual environment activated:
pip install --upgrade pip setuptools wheel
Always upgrade these first. Stale build tools are responsible for probably 40% of the installation errors I've seen people report. Then:
pip install openclaw
This will pull down OpenClaw and all its dependencies. On Apple Silicon, you might see some compilation happening for packages that don't have pre-built ARM64 wheels — that's normal. It should take about 60–90 seconds on a decent internet connection.
The pyobjc Situation
Here's where most Mac tutorials for other tools fail you, so pay attention. OpenClaw's screen interaction capabilities on macOS rely on pyobjc bindings. These usually install automatically as a dependency, but if you see an error that mentions pyobjc-core or pyobjc-framework-Quartz, install them explicitly:
pip install pyobjc-core pyobjc-framework-Quartz pyobjc-framework-ApplicationServices
On M-series Macs, if this fails with an architecture error, force the native ARM build:
ARCHFLAGS="-arch arm64" pip install pyobjc-core pyobjc-framework-Quartz
In my experience, this fixes it 95% of the time. The other 5% usually means your Xcode Command Line Tools are out of date:
xcode-select --install
Run that, let it finish, then retry the pip install.
Verify the Installation
python -c "import openclaw; print(openclaw.__version__)"
You should see a version number printed with no errors. If you get an ImportError, something went wrong in the install — scroll back through your terminal output and look for red text.
Setting Up macOS Permissions (1 Minute)
This part is quick but critical. OpenClaw agents need two permissions to function properly on macOS:
Screen Recording Permission
Go to System Settings → Privacy & Security → Screen Recording. Add your Terminal app (or iTerm2, or whatever you use). You'll likely need to toggle it off and back on if it was already listed.
Accessibility Permission
Same path: System Settings → Privacy & Security → Accessibility. Add your Terminal app here too.
Important: After granting both permissions, quit and reopen your terminal. Not just close the tab — fully quit the application and relaunch it. macOS caches these permissions, and a restart of the terminal process is the only reliable way to pick up the changes.
You can verify the permissions are working:
python -c "from openclaw.screen import capture; img = capture(); print(f'Screen captured: {img.size}')"
If this prints a resolution (like Screen captured: (2560, 1600)) without a permission error, you're golden.
If you get a permission error even after granting access, try a full system restart. I know. It's annoying. But macOS occasionally just… needs it. Apple Silicon Macs in particular seem to cache permission states more aggressively than the old Intel machines.
Your First Agent in 30 Seconds
You didn't install OpenClaw just to look at a version number. Let's make sure it actually works by running a simple agent. Create a file called test_agent.py:
from openclaw import Agent, Task

agent = Agent(
    name="test-agent",
    skills=["click", "type", "read_screen"]
)

task = Task(
    description="Open a new browser tab and search for 'OpenClaw documentation'",
    agent=agent
)

result = task.execute()
print(result.summary)
Run it:
python test_agent.py
You should see your agent take control, open a browser, and perform the search. The first run might take a moment as models initialize, but subsequent runs will be faster.
If this works, congratulations — you have a fully functional OpenClaw installation on your Mac. Everything from here is about building more sophisticated agents, adding skills, and chaining tasks together.
Common Gotchas and How to Fix Them
Even with a clean install, a few things can bite you. Here's the quick reference:
"No module named 'AppKit'"
This means pyobjc didn't install correctly. Reinstall with:
pip install --force-reinstall pyobjc-core pyobjc-framework-Cocoa
Agent runs but can't see the screen
Permissions issue, almost always. Double-check Screen Recording access for your terminal. If you're running inside VS Code's integrated terminal, you need to grant permissions to Visual Studio Code, not Terminal.app.
Slow agent execution on M1/M2/M3
Make sure you're running the native ARM Python, not an x86 version through Rosetta. Check:
file $(which python)
You want to see arm64, not x86_64. If it says x86_64, you installed the wrong Python. Uninstall it and reinstall with brew install python@3.12 (Homebrew on Apple Silicon installs ARM-native by default).
SSL Certificate Errors
Some corporate VPNs and network configurations mess with SSL verification. If you see certificate errors during pip install:
pip install --trusted-host pypi.org --trusted-host files.pythonhosted.org openclaw
Not ideal from a security standpoint, but it gets you unblocked.
Virtual Environment Won't Activate
If source ~/.openclaw-env/bin/activate gives you a "no such file" error, the venv creation probably failed silently. Delete and recreate:
rm -rf ~/.openclaw-env
python3.12 -m venv ~/.openclaw-env
source ~/.openclaw-env/bin/activate
Skip the Setup Entirely: Felix's OpenClaw Starter Pack
I realize I just spent 1,500 words walking you through a manual installation. And honestly, for a lot of people, that's the right approach — you learn the internals, you understand what's happening under the hood, and you can debug problems yourself.
But if you just want to start building agents today and don't want to mess with pyobjc flags and permission toggles, take a look at Felix's OpenClaw Starter Pack on Claw Mart. It's $29 and includes a set of pre-configured skills and a ready-to-go environment setup that handles the macOS-specific headaches automatically.
What you get in the bundle: pre-built skills for common agent tasks (browser automation, file management, form filling, and more), a setup script that handles the permissions and dependency installation in one shot, and a collection of starter agent templates you can modify for your own use cases. It's the kind of thing I wish existed when I first started with OpenClaw — would have saved me a solid weekend of yak-shaving.
It's not mandatory. Everything in this guide will get you to the same place. But if your time is worth more than $29 (it is), and you'd rather spend your afternoon building agents instead of fighting your operating system, the Starter Pack is the move.
Where to Go From Here
You've got OpenClaw running on your Mac. Now what?
Build something real. The test agent above is a toy. Pick an actual workflow you do repeatedly — maybe it's scraping data from a dashboard, populating a spreadsheet, or monitoring a web app for changes — and build an agent for it. You learn OpenClaw by using OpenClaw, not by reading docs (though the docs are solid, read those too).
Explore the skills system. OpenClaw's power comes from composable skills. The built-in ones cover a lot of ground, but custom skills are where things get interesting. If you grabbed the Starter Pack, you've already got a head start with pre-built skills you can reverse-engineer and extend.
Join the community. OpenClaw has an active community of builders sharing agent configurations, custom skills, and use cases. If you get stuck, someone's probably already solved your exact problem.
Optimize your environment. Once you've got basic agents working, look into running them in the background, scheduling them with cron or launchd, and setting up proper logging so you know what your agents are doing when you're not watching.
The hardest part is already done. OpenClaw is installed, it's running, and your Mac is ready to host agents that actually get things done. The five minutes you just spent will pay for themselves the first time an agent handles a task that would have taken you an hour.
Now go build something.