Headless Mode in OpenClaw: Run Agents Without a Screen
Headless Mode in OpenClaw: Run Agents Without a Screen
Let me be real with you: if you're running AI agents that need to interact with a computer — clicking buttons, filling forms, navigating websites, doing actual work — and you're doing it on a machine with a monitor attached, you're doing it wrong.
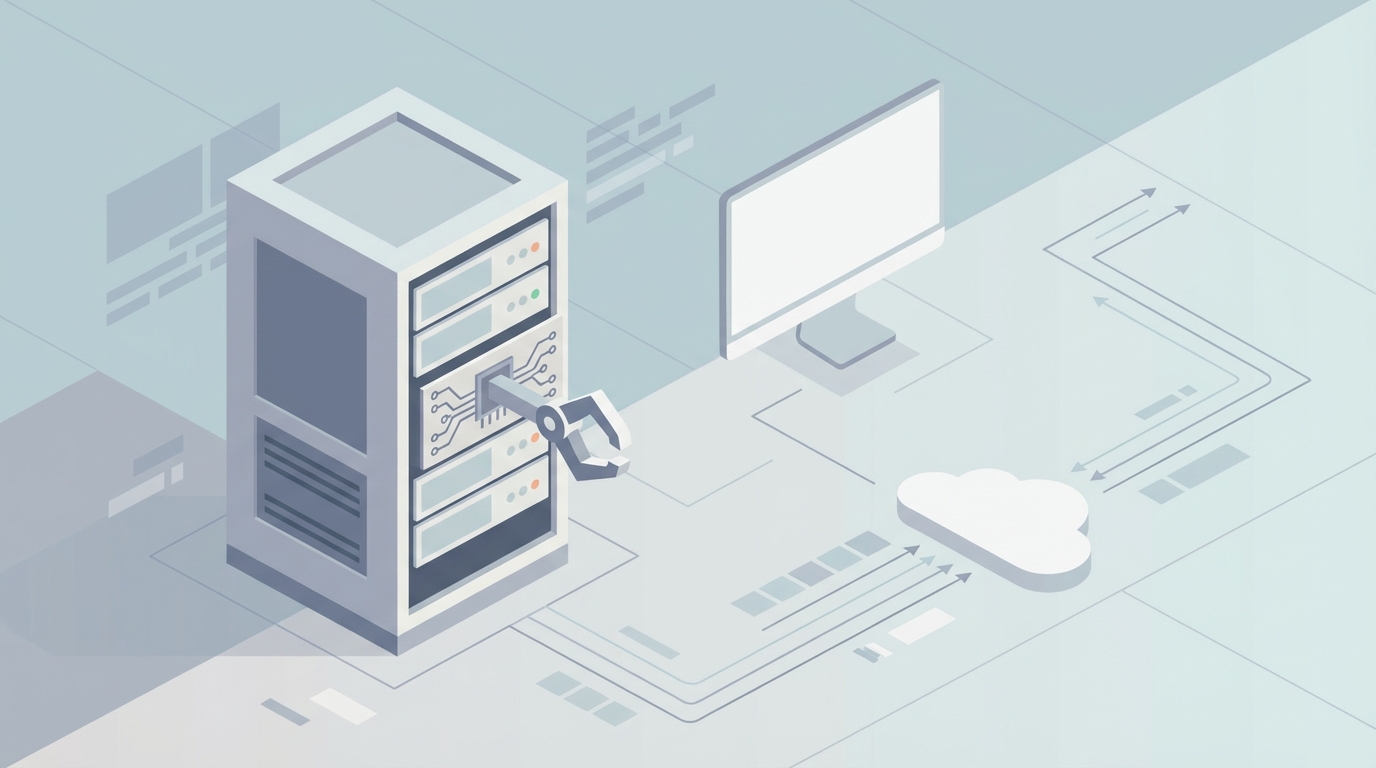
Headless mode is how serious agent builders operate. No screen. No desktop environment. Just your agent, a virtual display buffer, and whatever task you've pointed it at. It's faster, cheaper, more reliable, and it's the only way to scale past "one agent on my laptop."
OpenClaw makes this dead simple. Let me show you how.
Why Headless Mode Matters (And Why You Should Care)
Here's the scenario: you've built an agent that can navigate a browser, interact with desktop applications, or automate some multi-step workflow. It works great on your machine. You watch it click around, feel a swell of pride, and then reality hits.
You need this running on a server. Or in Docker. Or you need ten of them running simultaneously. Or you need it running at 3 AM while you're asleep.
None of that works with a visible GUI.
Headless mode means your agent operates against a virtual frame buffer (typically Xvfb on Linux) instead of a real display. The agent still "sees" the screen via screenshots. It still clicks and types. But there's no physical monitor involved. The entire visual environment exists in memory.
This matters for three reasons:
-
Servers don't have monitors. Your $5/month VPS, your EC2 instance, your Kubernetes pod — none of them have displays. Headless mode is literally the only option.
-
Resource efficiency. A full desktop environment (GNOME, KDE, even XFCE) eats RAM and CPU cycles. Xvfb uses almost nothing.
-
Parallelism. You can spin up isolated virtual displays for each agent. Ten agents, ten displays, one machine. Try doing that with ten physical monitors.
OpenClaw was built with this as a first-class concern, not an afterthought. That's what makes it different from duct-taping Selenium to Xvfb and praying.
The Setup: Getting OpenClaw Running Headless
The fastest way to get started is the Docker image. I'm not going to pretend the from-source setup is fun on a random Linux distro — it works, but Docker eliminates an entire class of "why is libX11 missing" problems.
# Pull the official OpenClaw headless image
docker pull openclaw/headless:latest

# Run it with a virtual display on :99
docker run -d \
  --name openclaw-agent \
  -e DISPLAY=:99 \
  -e OPENCLAW_OBSERVATION_MODE=screenshot+accessibility \
  -p 6080:6080 \
  openclaw/headless:latest
That's it. You now have a headless environment with a virtual display, a browser, and OpenClaw's full toolkit running. Port 6080 gives you a noVNC connection if you ever want to peek at what the agent is doing (useful for debugging, not required for operation).
If you want to go from zero to working agent without fighting configuration files, Felix's OpenClaw Starter Pack is genuinely the move here. It bundles pre-configured environments, example agents, and the kind of "here's exactly how to wire this up" documentation that the official docs sometimes lack. I've seen people in the community go from "never used OpenClaw" to "running headless agents in production" in an afternoon with it. More on that later.
The Observation Problem (And How OpenClaw Solves It)
Here's where most headless setups fall apart: screenshots.
Your agent needs to see the screen to decide what to do next. In headless mode, that means programmatically capturing the virtual display. Sounds simple. It's not.
Common problems people hit:
- Wrong resolution. The Xvfb display defaults to 1024x768. Your agent was trained on 1920x1080 screenshots. Everything looks wrong to the model.
- Color space issues. Some Xvfb configurations output 8-bit color. Vision models expect 24-bit. You get garbled screenshots.
- Timing. You take a screenshot before the page finishes rendering. The agent sees a half-loaded page and makes bad decisions.
- Performance. Taking a full-resolution PNG screenshot every 500ms is expensive. Do this across 10 parallel agents and you're burning CPU on image encoding instead of actual work.
OpenClaw handles all of this internally:
from openclaw import Agent, Environment

# Configure the headless environment
env = Environment(
    display=":99",
    resolution=(1920, 1080),
    color_depth=24,
    observation_mode="screenshot+accessibility",  # This is the key setting
    screenshot_format="jpeg",  # Faster than PNG, good enough for vision models
    screenshot_quality=85,
    render_wait_ms=300  # Wait for page paint before capturing
)

# Create the agent
agent = Agent(
    environment=env,
    model="qwen2-vl-72b",  # Or any vision model you're running locally
    max_steps=50,
    action_space=["click", "type", "scroll", "key_press", "wait", "screenshot"]
)

# Run a task
result = agent.run("Go to example.com and find the pricing page. Extract all plan names and prices.")
print(result.output)
print(f"Steps taken: {result.steps}")
The observation_mode="screenshot+accessibility" flag is critical. Here's why.
Screenshot + Accessibility Tree: The Combo That Actually Works
Pure screenshot-based agents are fragile. The vision model has to figure out everything from pixels — where buttons are, what text says, what's clickable. It works surprisingly well with strong models, but it fails on edge cases constantly. Small text, unusual layouts, overlapping elements.
Pure accessibility-tree agents (where you dump the DOM or AT-SPI tree as text) are cheap and fast, but they miss visual context. They can't see that a button is red (indicating danger), that a modal is overlaying the page, or that a CAPTCHA just appeared.
OpenClaw gives you both simultaneously:
# What the agent receives each step
observation = {
    "screenshot": "<base64 encoded JPEG>",
    "accessibility_tree": {
        "role": "document",
        "name": "Pricing - Example Corp",
        "children": [
            {
                "role": "navigation",
                "name": "Main menu",
                "children": [
                    {"role": "link", "name": "Home", "bounds": [10, 5, 60, 25]},
                    {"role": "link", "name": "Pricing", "bounds": [70, 5, 140, 25], "focused": True},
                    {"role": "link", "name": "Docs", "bounds": [150, 5, 200, 25]}
                ]
            },
            {
                "role": "heading",
                "name": "Choose your plan",
                "level": 1,
                "bounds": [200, 100, 800, 140]
            }
            # ... more elements
        ]
    },
    "recent_actions": [
        {"action": "click", "target": "Pricing link", "step": 3},
        {"action": "wait", "duration_ms": 1000, "step": 4}
    ]
}
The accessibility tree gives the agent precise element locations and semantic meaning. The screenshot gives visual context. The recent action history prevents the "wait, what was I doing?" problem that plagues stateless agents.
This is the setup that people on r/LocalLLaMA are reporting cuts their error rates by 40-60% compared to screenshot-only approaches.
Running Multiple Agents in Parallel
This is where headless mode really shines. Say you need to run five agents simultaneously, each doing different tasks.
from openclaw import Agent, Environment
import asyncio

async def run_agent(task: str, display_num: int):
    env = Environment(
        display=f":{display_num}",
        resolution=(1920, 1080),
        observation_mode="screenshot+accessibility",
        isolated=True  # Prevents cross-display interference
    )

    agent = Agent(
        environment=env,
        model="qwen2-vl-72b",
        max_steps=100,
        trajectory_save_path=f"./trajectories/agent_{display_num}/"
    )

    result = await agent.arun(task)
    return result

async def main():
    tasks = [
        ("Research competitor pricing for Widget Corp", 99),
        ("Fill out the vendor application form on supplierportal.com", 100),
        ("Download all invoices from accounting.internal.com", 101),
        ("Update the inventory spreadsheet with new stock counts", 102),
        ("Check order status for all pending shipments", 103),
    ]

    results = await asyncio.gather(*[
        run_agent(task, display) for task, display in tasks
    ])

    for i, result in enumerate(results):
        print(f"Agent {i}: {'Success' if result.success else 'Failed'} in {result.steps} steps")

asyncio.run(main())
Each agent gets its own virtual display, its own browser instance, its own isolation. They can't interfere with each other. And because OpenClaw handles the Xvfb lifecycle internally (with isolated=True), you don't need to manually spin up displays with Xvfb :99 -screen 0 1920x1080x24 &.
On a machine with 32GB RAM and a decent GPU for the vision model, people regularly report running 8-12 agents simultaneously. On CPU-only setups with a remote API for the vision model, 20+ is feasible.
Debugging Headless Agents (Because They Will Break)
The number one complaint about headless agents: "It failed and I have no idea why."
OpenClaw solves this with automatic trajectory saving. Every screenshot, every action, every observation gets logged:
agent = Agent(
    environment=env,
    model="qwen2-vl-72b",
    trajectory_save_path="./trajectories/",
    save_screenshots=True,
    save_accessibility_trees=True,
    save_model_reasoning=True  # Saves the model's chain-of-thought for each step
)
After a run, you get a directory like:
trajectories/
  run_2025_01_15_143022/
    step_001_screenshot.jpg
    step_001_accessibility.json
    step_001_action.json
    step_001_reasoning.txt
    step_002_screenshot.jpg
    ...
    summary.json
You can replay the entire run visually. You can see exactly where the agent went wrong. And critically, you can use these trajectories to fine-tune your prompts or even fine-tune the vision model itself.
The summary.json gives you a quick overview:
{
  "task": "Find the pricing page and extract plan details",
  "success": false,
  "total_steps": 23,
  "failure_reason": "Agent clicked cookie consent banner instead of navigation link at step 7",
  "total_time_seconds": 45.2,
  "screenshots_saved": 23,
  "model_tokens_used": 18420
}
This kind of observability is non-negotiable for production use. Flying blind with headless agents is how you get an agent that's been clicking the same button in a loop for six hours.
The Recovery Problem
Real talk: agents get lost. They click the wrong thing, a popup appears, the page redirects somewhere unexpected. In a headless environment, there's no human to notice and intervene.
OpenClaw has built-in recovery mechanisms that I genuinely haven't seen in other open-source tools:
agent = Agent(
    environment=env,
    model="qwen2-vl-72b",

    # Recovery settings
    enable_recovery=True,
    max_repeated_actions=3,  # If the agent does the same thing 3x, trigger recovery
    anchor_interval=5,  # Save an "anchor" screenshot every 5 steps
    recovery_strategy="backtrack",  # Options: "backtrack", "restart", "escalate"
)
The anchor point system is clever. Every N steps, the agent saves a "known good" state. If it detects it's stuck (repeated actions, unexpected page, error messages), it can backtrack to the last anchor and try a different approach.
The "escalate" recovery strategy is useful in production: instead of the agent flailing, it stops, saves its state, and flags the task for human review. Way better than letting it run wild.
The Cost Argument
Let me put real numbers on this.
Using a proprietary computer-use API (like Claude's), a typical 30-step agent run costs roughly $0.50-$2.00 depending on screenshot resolution and model tokens. Run 100 tasks a day? That's $50-$200/day. $1,500-$6,000/month.
With OpenClaw + a local vision model:
- VPS with GPU: ~$200-500/month (or use your own hardware for $0)
- Vision model: free (Qwen2-VL, Llava-Next, etc.)
- OpenClaw: free and open source
- Per-task cost: effectively $0 after infrastructure
People on Hacker News have reported cutting their computer-use bills by 80-90% by switching to OpenClaw with a local model. The tradeoff is reliability — Claude's official computer use is still more accurate on complex tasks. But for structured, repeatable workflows? OpenClaw is more than good enough.
Getting Started Without the Pain
I mentioned Felix's OpenClaw Starter Pack earlier, and I want to circle back because it directly addresses the biggest friction point with OpenClaw: the initial setup and configuration.
The official documentation is fine for experienced developers, but there's a gap between "here's the API reference" and "here's how to actually build a useful agent." Felix's pack bridges that gap with pre-built Docker configurations optimized for headless mode, example agents for common tasks (web scraping, form filling, data extraction), and the kind of annotated configuration files that explain why each setting is what it is — not just what it is.
If you're the type who'd rather start from a working example and modify it than build from scratch, it's the fastest path I've seen. The community consistently recommends it for a reason.
What's Next
Once you have headless mode running:
- Start with a single simple agent. Form filling or data extraction. Get it working reliably before adding complexity.
- Turn on trajectory saving immediately. You'll need those logs sooner than you think.
- Use
screenshot+accessibilityobservation mode. The combo is strictly better than either alone. - Add recovery mechanisms before going to production. An agent without recovery will eventually get stuck. It's not a question of if.
- Scale gradually. Go from 1 agent to 3, then 5, then 10. Monitor resource usage at each step.
Headless mode isn't a feature — it's the foundation for every serious agent deployment. OpenClaw makes it work without requiring a PhD in X11 configuration. Start there, build up, and save yourself the months of debugging that everyone who tried to roll their own headless setup went through.
Your agents should be working while you sleep. That's the whole point.