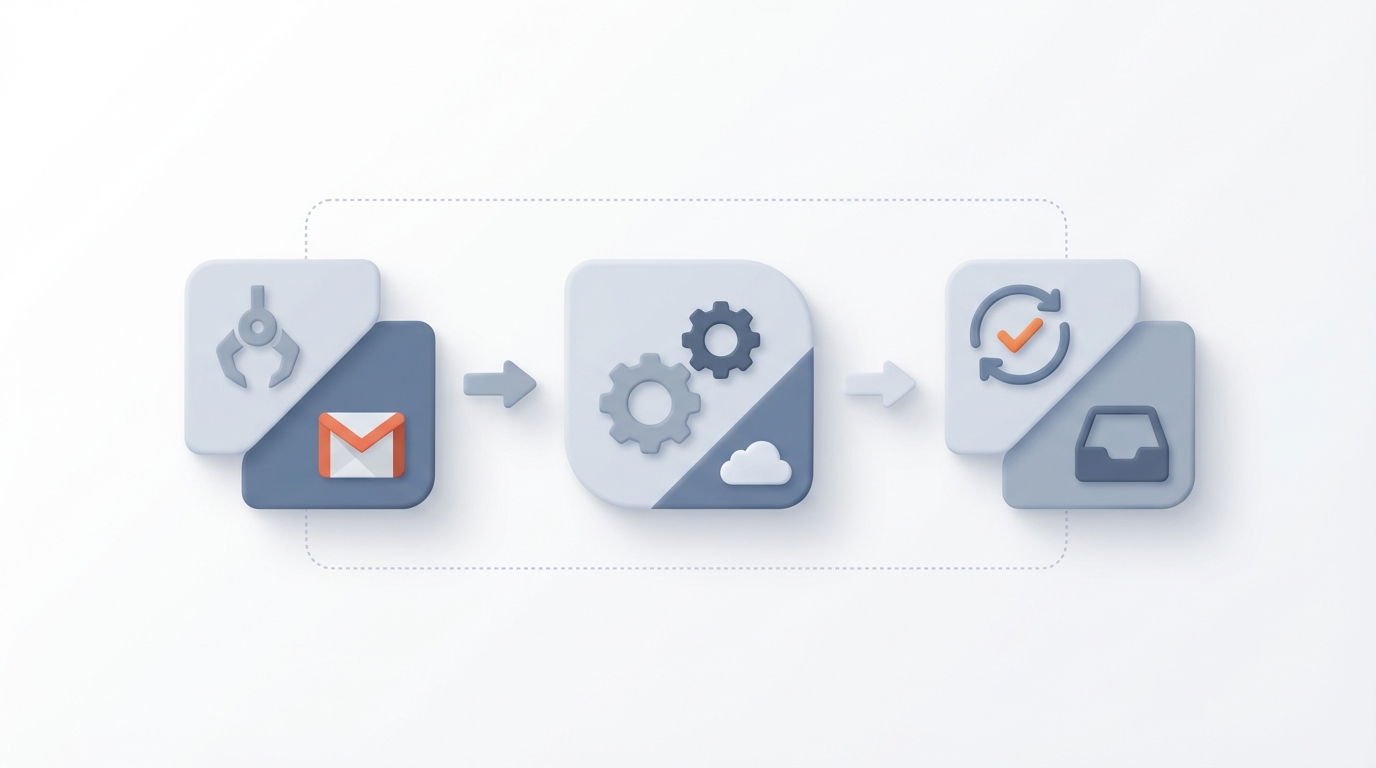
Connect OpenClaw to Gmail: Step-by-Step Email Automation Guide
Connect OpenClaw to Gmail: Step-by-Step Email Automation Guide
Let me be real about something: connecting an AI agent to your Gmail inbox should not take three days. But for most people, it does. Between OAuth2 headaches, token expiration mysteries, rate limits you didn't know existed, and the genuine terror of letting an autonomous agent loose in your email — it's a mess. I've been through it. Multiple times.
OpenClaw makes this dramatically easier than doing it from scratch, but there are still things you need to understand and configure correctly. This guide is everything I wish someone had handed me the first time I tried to wire up Gmail automation with OpenClaw. We're going to go from zero to a working email triage agent, step by step, and I'll flag every landmine along the way.
Why Gmail Integration Is Uniquely Painful
Before we get into the how, it's worth understanding why this particular integration trips up so many people. It's not because the Gmail API is poorly designed — it's actually fine. The problem is the collision of three things:
-
Google's security model is aggressive. OAuth2 with specific scopes, consent screens that scare users, token expiration, refresh token revocation if Google detects anything unusual. This is good for security, terrible for autonomous agents.
-
Email data is filthy. HTML emails with nested quoted replies, inline images, inconsistent threading, attachments in various encodings. Feeding raw email data to an agent is like handing someone a phone book and asking them to summarize your week.
-
Autonomous agents do unpredictable things. An agent that misinterprets an email and fires off a reply to your CEO with hallucinated meeting notes is not a hypothetical — it's a Tuesday for people who skip the safety rails.
OpenClaw addresses all three of these, but you need to set it up properly. Let's do that.
Step 1: Set Up Your Google Cloud Project and OAuth Credentials
You can't skip this part. Even with OpenClaw handling the heavy lifting, you need a Google Cloud project with the Gmail API enabled and OAuth2 credentials configured.
Head to console.cloud.google.com and either create a new project or use an existing one. Then:
- Go to APIs & Services → Library and enable the Gmail API.
- Go to APIs & Services → Credentials and create an OAuth 2.0 Client ID.
- Set the application type to Desktop app (this is the simplest flow for local agent development — we'll talk about server deployment later).
- Download the
credentials.jsonfile. Guard this file. Don't commit it to git. Don't post it on Discord asking for help. Treat it like a password.
For the OAuth consent screen, set it to External (unless you have Google Workspace and want to restrict it to your org). Add the scopes you need. For most agent use cases, you want:
https://www.googleapis.com/auth/gmail.readonly
https://www.googleapis.com/auth/gmail.send
https://www.googleapis.com/auth/gmail.modify
My strong recommendation: start with gmail.readonly only. Get your agent reading and triaging emails before you give it the ability to send or modify anything. You can always add scopes later.
Step 2: Configure OpenClaw's Gmail Skill
This is where OpenClaw starts earning its keep. Instead of writing a bunch of boilerplate to handle the Google API client, token storage, and refresh logic, you configure a Gmail skill in your OpenClaw agent config.
In your OpenClaw project directory, open (or create) your agent configuration file:
# agent.yaml
name: email-triage-agent
description: Reads and triages my Gmail inbox

skills:
  - name: gmail
    type: openclaw/gmail
    config:
      credentials_path: ./secrets/credentials.json
      token_path: ./secrets/token.json
      scopes:
        - gmail.readonly
      default_query: "is:unread category:primary"
      max_results: 25
      parse_mode: clean_text  # strips HTML, collapses threads
      rate_limit:
        requests_per_second: 2
        daily_budget: 500
Let me walk through the important bits:
credentials_pathandtoken_path: Point these at your downloaded credentials file and where you want OpenClaw to store the OAuth token. First run will open a browser for you to authorize. After that, the token is cached and auto-refreshed.scopes: Use the shorthand (gmail.readonly,gmail.send,gmail.modify) instead of full URLs. OpenClaw expands these.parse_mode: clean_text: This is the single most important setting. It tells OpenClaw to strip HTML, collapse quoted replies, extract attachment metadata separately, and return clean, structured text that your agent can actually reason about. The default raw mode gives you MIME soup.rate_limit: Built-in rate limiting. Set this lower than you think you need. Gmail API quotas are per-user-per-second and daily. If your agent enters a retry loop without rate limiting, you'll burn through your quota in minutes and be locked out for 24 hours. Ask me how I know.
Step 3: First Authentication Run
Run your agent for the first time:
openclaw run agent.yaml
OpenClaw will detect that no token.json exists and kick off the OAuth flow. A browser window opens, you sign into your Google account, you see the scary permissions screen (it will say something like "This app wants to read your email" — that's correct), and you approve.
Once approved, token.json gets saved and you won't need to do this again unless:
- The token expires and can't be refreshed (rare, but happens if Google flags unusual activity)
- You change scopes
- You revoke access in your Google account settings
Landmine alert: If you're running OpenClaw in a headless environment (Docker, remote server, CI), the browser-based OAuth flow won't work. You have two options:
- Run the auth flow locally first, then copy the
token.jsonto your server. Simple, works great. - Use a service account with domain-wide delegation (Google Workspace only). Configure it like this:
skills:
  - name: gmail
    type: openclaw/gmail
    config:
      auth_type: service_account
      service_account_path: ./secrets/service-account.json
      delegated_user: you@yourcompany.com
      scopes:
        - gmail.readonly
Service accounts are more complex to set up (you need a Workspace admin to authorize the scopes in the Admin console) but they don't require interactive auth. For personal Gmail accounts, option 1 is the way to go.
Step 4: Build Your First Email Triage Agent
Now the fun part. Let's build a skill pipeline that reads your unread emails, categorizes them, and generates a summary.
# agent.yaml
name: email-triage-agent
description: Reads unread emails and produces a prioritized summary

skills:
  - name: gmail
    type: openclaw/gmail
    config:
      credentials_path: ./secrets/credentials.json
      token_path: ./secrets/token.json
      scopes:
        - gmail.readonly
      default_query: "is:unread category:primary"
      max_results: 20
      parse_mode: clean_text
      rate_limit:
        requests_per_second: 2
        daily_budget: 500

  - name: triage
    type: openclaw/classifier
    config:
      categories:
        - urgent_response_needed
        - informational
        - meeting_related
        - newsletter_or_marketing
        - spam_or_irrelevant
      input_from: gmail
      output_format: structured

  - name: summary
    type: openclaw/summarizer
    config:
      input_from: triage
      group_by: category
      format: markdown
      max_length_per_item: 100

actions:
  triage_inbox:
    steps:
      - fetch: gmail
      - classify: triage
      - summarize: summary
      - output: console
When you run openclaw run agent.yaml --action triage_inbox, here's what happens:
- OpenClaw fetches up to 20 unread emails from your primary inbox
- Each email gets parsed into clean text with metadata (sender, subject, date, thread length)
- The classifier skill categorizes each one
- The summarizer groups them by category and produces a markdown summary
- You get output like this:
## Urgent Response Needed (2)
- **From:** Sarah Chen | **Subject:** Contract review deadline Friday
  → Needs your signature on the MSA by EOD Friday. Attachment: MSA_v3_final.pdf
- **From:** Mike Torres | **Subject:** Production incident - API latency
  → P1 incident started 2h ago. Wants to know if you can join the bridge call.

## Meeting Related (3)
- **From:** Calendar | **Subject:** Reminder: Q4 Planning tomorrow 10am
  → Standard calendar reminder, no prep materials attached.
...
That's it. No hallucinated responses sent to anyone. No emails deleted. Just a clean summary of what needs your attention.
Step 5: Adding Send Capability (With Safety Rails)
Once you trust the read-only flow, you might want your agent to draft or send replies. Here's where you absolutely must add safety rails.
skills:
  - name: gmail
    type: openclaw/gmail
    config:
      credentials_path: ./secrets/credentials.json
      token_path: ./secrets/token.json
      scopes:
        - gmail.readonly
        - gmail.send
      safety:
        require_confirmation: true
        confirmation_mode: interactive  # or "webhook" for async
        blocked_recipients:
          - "*@competitor.com"
          - "ceo@*"
        max_sends_per_run: 5
        dry_run: false  # set to true while testing
The require_confirmation: true setting is non-negotiable in my opinion. It means every email the agent wants to send gets presented to you first with a y/n prompt. The blocked_recipients list is an extra layer — even if the agent somehow bypasses confirmation, it physically cannot email addresses matching those patterns.
Start with dry_run: true. Run it a dozen times. Read the drafts it generates. Only flip it to false when you're confident the agent isn't going to do something embarrassing.
Common Issues and How to Fix Them
"invalid_grant" error after a few hours or days:
Your refresh token got revoked. This usually happens if you're running multiple instances with the same credentials, or if Google flagged something. Delete token.json, re-run the auth flow. If it keeps happening, make sure you're not sharing credentials across environments.
Agent reads the same emails repeatedly:
You're not marking them as read or using a query that filters for truly new messages. Add after: date filters or use gmail.modify scope to mark processed messages with a label:
post_process:
  label_processed: "openclaw/processed"
  mark_as_read: false  # I prefer labeling over marking read
Rate limit errors (HTTP 429):
Lower your requests_per_second and add exponential backoff. OpenClaw handles retries automatically if you have rate limiting configured, but if you're seeing 429s, your budget is too aggressive for your account type. Personal Gmail accounts have tighter limits than Workspace accounts.
Garbled email content:
Make sure parse_mode is set to clean_text. If you're still getting garbage, some emails (especially heavily formatted marketing emails) are genuinely hard to parse. You can add a preprocessing step:
parse_mode: clean_text
fallback_parse: strip_all_html
ignore_content_types:
  - image/*
  - application/ics
The Shortcut: Felix's OpenClaw Starter Pack
Look, everything I just described works. But I'll be honest — it took me multiple iterations to get all these config settings dialed in. The parse_mode settings, the rate limit tuning, the safety rail configurations, the edge cases with token storage. If you're building this from scratch, budget a solid afternoon.
If you'd rather skip that and start with something that's already configured and tested, Felix's OpenClaw Starter Pack on Claw Mart includes a pre-built Gmail triage skill that handles all of this out of the box. It's $29 and includes the triage agent, the send-with-confirmation flow, token management, and a handful of other pre-configured skills that complement the email workflow. I genuinely wish it had existed when I started because the OAuth debugging alone cost me more than $29 in lost time. It's the fastest way to go from "I want my agent to handle my email" to actually having it work.
Whether you use the starter pack or build from scratch using this guide, the key principles are the same: start read-only, add clean parsing, enforce rate limits, and never let an agent send email without human confirmation until you deeply trust it.
What to Build Next
Once your Gmail triage agent is working, natural next steps include:
- Auto-labeling: Use the classifier output to apply Gmail labels automatically, so even when you're not running the agent, your inbox stays organized.
- Calendar integration: Cross-reference meeting-related emails with your Google Calendar to add context ("this email is about the meeting you have in 3 hours").
- Slack/Discord notifications: Pipe urgent emails into a channel so you catch them without checking email.
- CRM updates: If emails mention deals or clients, have the agent update your CRM (OpenClaw has Notion and Airtable skills that work well for this).
OpenClaw's skill composition model makes these extensions straightforward — you're just adding more skills to the pipeline and connecting outputs to inputs. The Gmail skill becomes one piece of a larger automation system rather than a standalone script.
The bottom line: Gmail integration with AI agents is one of those things that's harder than it looks, but not as hard as most people make it. Get the auth right, parse the data cleanly, respect rate limits, add safety rails, and you'll have something genuinely useful running in an afternoon. OpenClaw handles the gnarly infrastructure bits so you can focus on what your agent actually does with the information. That's the whole point.
Now go build something. Your inbox isn't going to triage itself. Well — actually, after this guide, it kind of will.